Instagrammable Art Installation: FLY Miami's Two Light Trick
An instagrammable art installation is a work built or staged to reward a camera: bold color, real scale, something a visitor can touch or move through, and light that changes the shot at different hours. This guide walks through standout examples like Barbara Kasten’s Threshold and the Missouri Botanical Garden’s HYBYCOZO show, the design rules behind them, phone shooting tips, and a studio-tested checklist from FLY Miami Art for staging your own photo-ready corner.
TL;DR:
- Using bold, saturated colors and oversized elements increases visual impact and makes installations stand out in photos on small screens.
- Interactive features that visitors can touch, rearrange, or trigger lead to more photos and longer engagement, boosting shareability.
- Installing lighting effects like blacklight or UV-reactive elements creates dual-image opportunities and enhances photographic diversity.
- Keep backgrounds simple with negative space or plain backdrops to prevent clutter from overpowering the subject in images.
- Budget from $150 to $2,000 depending on complexity, and always check permits, licensing, and accessibility requirements before staging or shooting.
Table of Contents
- Standout Examples of Instagrammable Art Installations
- The Design Elements Behind a Photo-Friendly Art Exhibit
- How to Photograph Art Installations for Instagram and Reels
- Building Your Own Micro Installation or Photo Corner
- Costs, Permits, and Rights to Check Before You Shoot
- Why We Design Installations for Shareable Moments
- Commission a Photo-Ready Installation With FLY Miami Art
- Sources
Standout Examples of Instagrammable Art Installations
The best photo-friendly installations share one habit: they give you a reason to stop walking. Here are eight worth tracking down or studying for their own staging tricks.
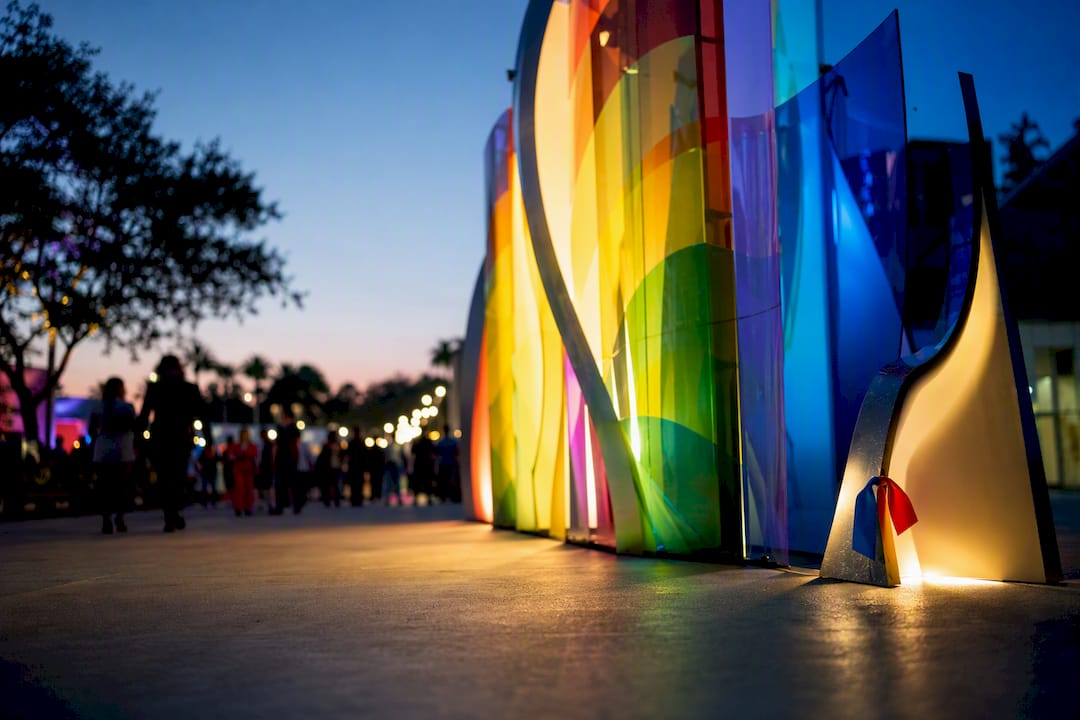
- Patterns in Nature: The Art of HYBYCOZO at the Missouri Botanical Garden runs 21 interactive installations through the grounds, with an evening component called Patterns in Nature: LightForm that lights the geometric sculptures after dark. The reason it photographs so well is simple math: sunlight through laser-cut pattern work during the day, glowing silhouettes against a dark garden at night, and both work as a backdrop.
- Barbara Kasten: Threshold at the Akron Art Museum installs translucent acrylic I-beams in the building’s own lobby, letting natural light refract through them across five decades of the artist’s practice. The architectural interaction is the whole trick here: the building becomes part of the composition, not just a container for it.
- MoMA PS1’s Rockaway installation takes the museum’s summer program outside its walls and onto the boardwalk, proving large-scale public art does not need a gallery to draw a crowd with a phone out. Beachfront light and open sky do half the photographic work for you.
- Studio DRIFT’s Shy Society suspended kinetic, illuminated textile sculptures above Venice’s Grand Canal in May 2026, pulsing in a rhythm modeled on a human heartbeat. Movement plus synchronized lighting extends a piece’s photographic life well past sunset, since motion and reflection off water read differently in every frame.
- Cj Hendry’s Flower Market 2.0 took over Rockefeller Center in September 2025 with plush flowers visitors could pick and arrange into their own bouquet. That single interactive gesture, plus satellite carts and limited merchandise, is why it generated so much organic sharing: everyone left with a slightly different photo.
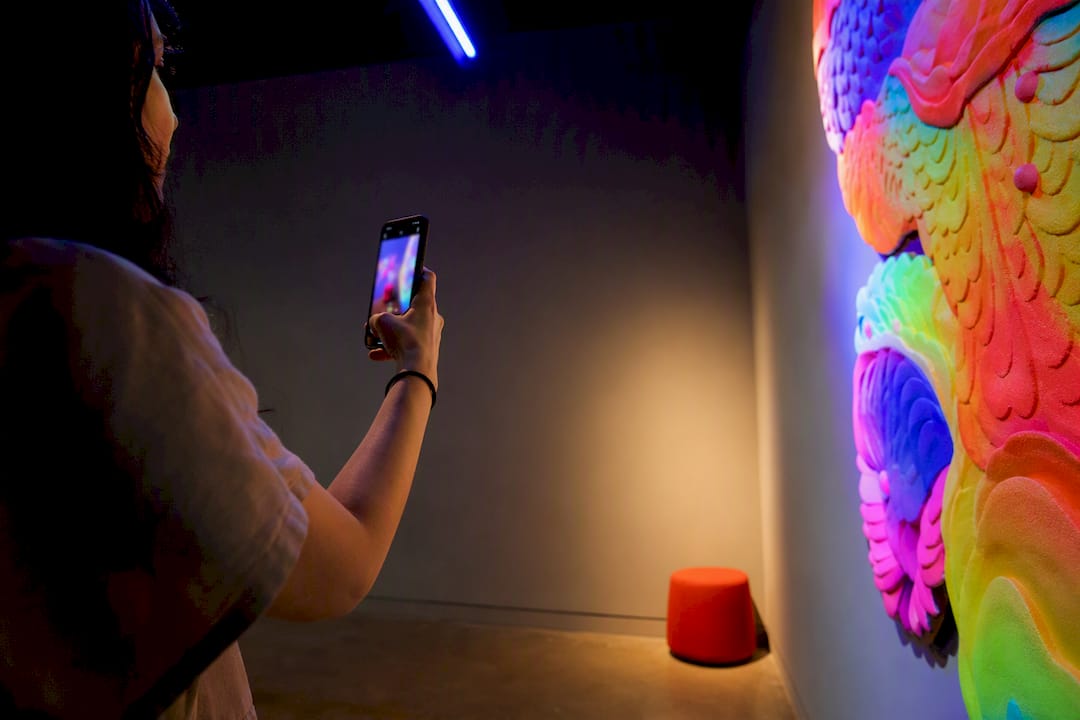
- Color Factory and Happy Place popularized the format that most modern pop-ups now copy: rooms built entirely as backdrops, where the visitor is the subject and the installation is the set. Both extended their runs when ticket demand outpaced supply, which tells you something about how much people want to be part of the image, not just looking at it.
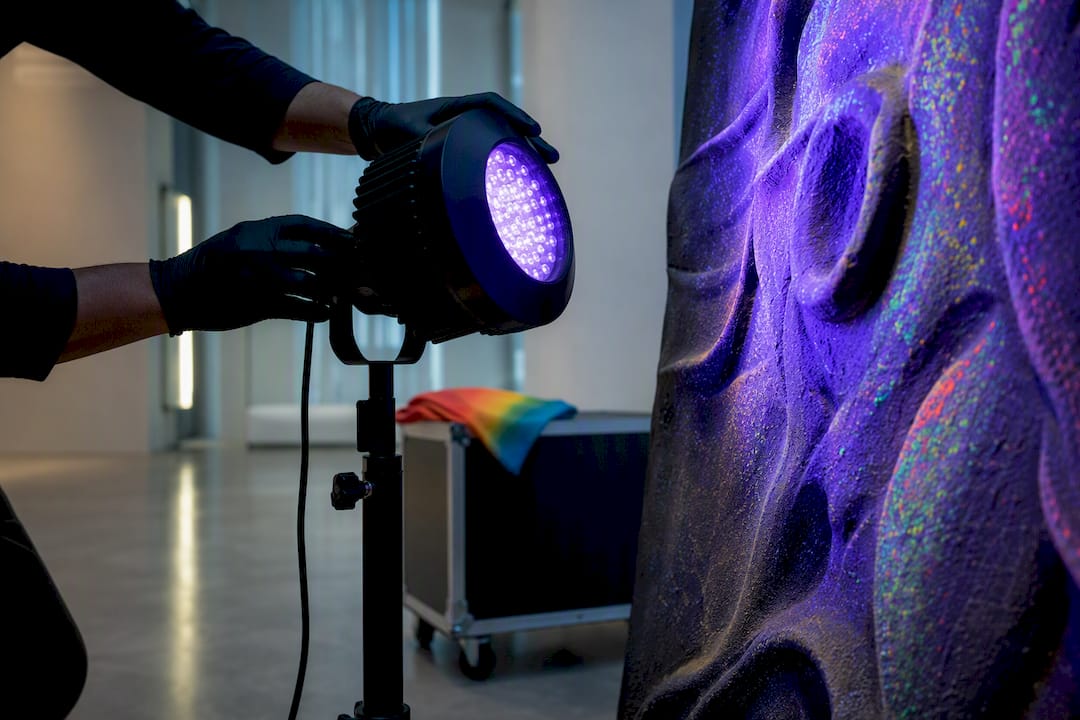
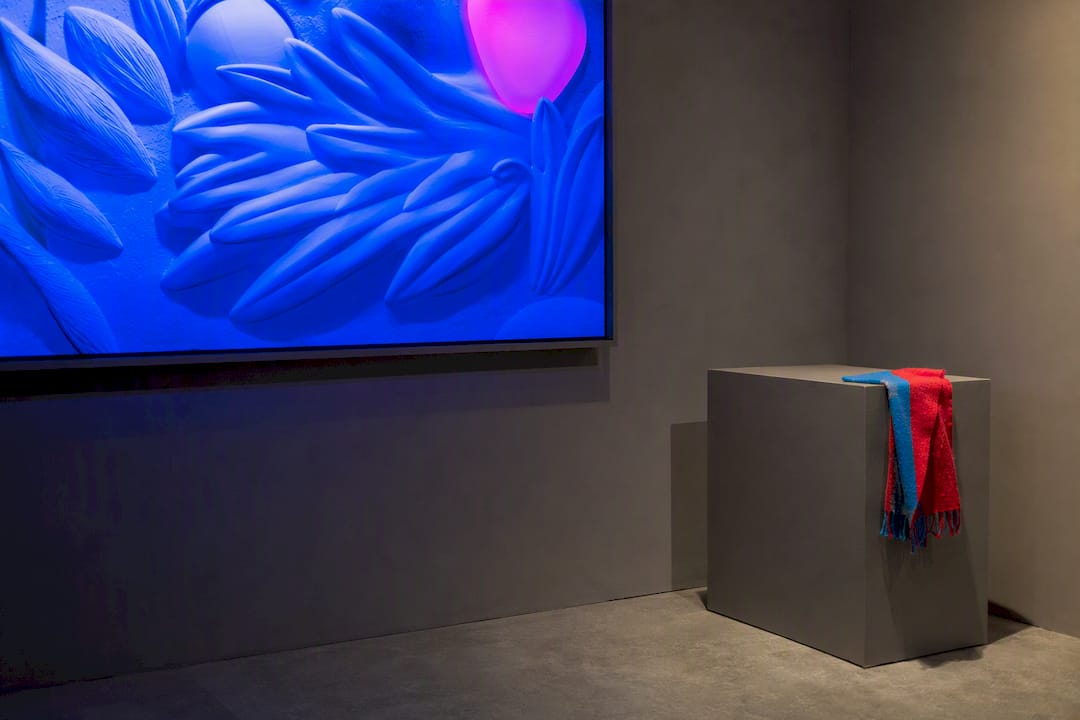
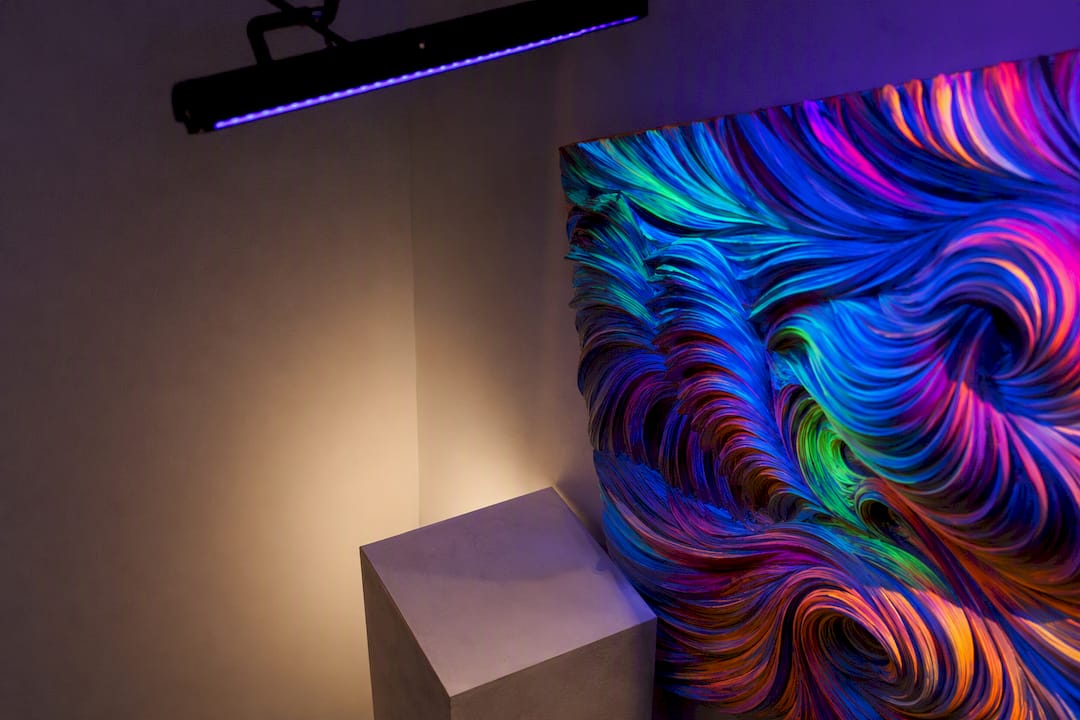
- UV-reactive gallery rooms, the kind FLY Miami Art builds around Facundo Yebne’s pop art sculptures, hide a second image inside the first. Under blacklight, hidden patterns and colors appear that are invisible under normal light, so the same piece gives visitors two completely different photos depending on when they show up.
- Public sculpture photo walks, common in waterfront and arts districts, work because they string multiple stopping points along a route. No single piece has to carry the whole visit; the walk itself becomes the content.
Before you plan a visit, check whether the piece allows touch. HYBYCOZO’s garden pieces build in family-friendly interactive elements, while some museum lobby works like Threshold are look-only. Docent-led sessions and accessible programming are worth asking about at the front desk.
The Design Elements Behind a Photo-Friendly Art Exhibit
Every installation that blows up on social feeds is built from a short list of repeatable ingredients, not luck.
Color does the heaviest lifting. Saturated, high-contrast palettes read clearly on a small phone screen in a way that muted tones do not. Scale matters almost as much: oversized objects make a visitor look small next to them, which is exactly the kind of comparison a photo needs to feel dramatic. Texture adds a reason to get close, whether that is plush flowers you can touch or acrylic beams that catch light differently depending on the angle.
Interactivity is the multiplier. A static piece gets one photo; a piece you can rearrange, walk through, or trigger gets a dozen, because every visitor stages it slightly differently. Lighting decides whether a work has one photographic identity or two, as with blacklight-reactive surfaces that hide a second composition until the room goes dark. Negative space around a piece keeps the background from competing with the subject, which is why the strongest installations often sit against a plain wall or open sky rather than a cluttered room.
- Color: high saturation reads better on small screens than muted palettes.
- Scale: oversized elements create a visible size comparison with the visitor.
- Interactivity: touchable or rearrangeable elements produce more unique angles per visit.
- Lighting: a second lighting state (like UV) doubles a piece’s photographic identity.
- Negative space: a plain backdrop keeps the subject from getting lost.
Accessibility belongs in this list, not bolted on afterward. Ramps, clear sightlines for wheelchair users, and low-sensory viewing windows for kinetic or strobing pieces are design decisions, the same as color and scale.
Pro Tip: Pick one dominant color and one accent, then keep everything else in the frame neutral. A corner with five competing colors photographs as noise; a corner with two reads as intentional.
How to Photograph Art Installations for Instagram and Reels
Getting a strong photo at an installation is mostly about a handful of habits, done the same way every time.
- Turn on your grid. Lining a sculpture’s edge or a beam of light against the grid keeps horizons straight and gives you a composition anchor before you even frame the shot.
- Lock your exposure on the brightest or darkest element in the frame, depending on whether you’re shooting a sunlit garden piece or a blacklight room, so the phone doesn’t auto-adjust mid-shot.
- Shoot low and shoot wide for anything oversized. Crouching changes the scale relationship between you and the piece more than almost any other single adjustment.
- Chase the light window. Garden and outdoor installations peak at golden hour; blacklight and neon pieces need full darkness to read correctly, so check evening programming hours before you go.
- Add motion on purpose. A scarf, a spinning skirt, or someone walking through the frame gives kinetic and reflective pieces, like textile installations suspended over water, something to synchronize with.
- Wear contrasting clothing. Bright murals and colorful backdrops wash out a person in matching tones; a plain outfit in a contrasting shade keeps you visible against a busy piece.
- Edit light before edit style. Fix exposure and white balance first in-camera; save filters for last, since blacklight photos in particular shift color badly under generic presets.
- Crop for the platform, not the camera. A wide horizontal shot works for the main feed, but Reels and Stories need vertical framing from the start, so decide your crop before you shoot, not after.
A small but telling fact backs up point five: interactive elements that invite touch or movement increase how long visitors linger, and that extra dwell time is what produces multiple usable angles from a single visit instead of one rushed shot.
Building Your Own Micro Installation or Photo Corner
A backyard corner, a hotel lobby vignette, or a pop-up booth all follow the same staging logic museums use at full scale, just compressed.
Start with the three-layer model: an anchor piece that sets the visual tone, a focal object that draws the eye first, and supporting elements that fill the frame without competing. Designers call this keeping a consistent “visual DNA,” meaning one style prompt or color palette carried through every layer so the corner reads as curated rather than thrown together. Odd-number groupings and varied heights across roughly 60 to 90 centimeters of vertical range keep the eye moving instead of settling flat.
- Choose one anchor color or material and repeat it across all three layers.
- Set up two lighting states: a daylight version and a tunable LED or blacklight version, since UV-reactive pieces reveal hidden patterns only under blacklight.
- Budget a 90-minute production window for a one-hour shoot, which covers setup, test shots, and adjustments.
- Confirm permits and location agreements before installing anything in a shared or public space.
- Starter kit: roughly $150 to $400, covering basic lighting and a single focal piece.
- Pro kit: roughly $800 to $2,000, covering a sculptural focal object, tunable lighting, and staged supporting props.
- Model releases and venue sign-off, checked before booking a paid creator session.
- Basic liability coverage if the public will interact with the piece.
Pro Tip: Test your blacklight state with your phone camera, not just your eyes. Some UV-reactive pigments look intense in person but read dim on a phone sensor unless the room light is fully cut.
For staging that holds up across repeat sessions, this immersive exhibition design checklist breaks down lighting layering in more depth than a single corner setup usually needs.
Costs, Permits, and Rights to Check Before You Shoot
Budget realistically before you build anything: a basic corner runs $150 to $400, while a fuller setup with a sculptural piece and tunable lighting lands closer to $800 to $2,000, per the staging cost bands creators commonly use.
- Municipal permits are typically required for anything installed in a public right-of-way or park; venue permission is required for private lobbies, restaurants, or hotels.
- Commercial use of a photo, meaning anything used to sell a product or service, usually needs a model release and sometimes a location release, while purely editorial or personal posts have looser requirements.
- If you plan to reuse someone else’s installation photos, check the license terms, such as Creative Commons BY-NC 4.0, before assuming free use.
- Always confirm a venue’s own photography policy; some blacklight and interactive rooms restrict tripods or flash for safety.
Why We Design Installations for Shareable Moments
These installations are often built around three priorities: interactivity people can actually touch, lighting that gives a work a second life after dark, and meaningful themes that go beyond the photo. A great shareable moment and real artistic intent are not in competition. The installations that get photographed most are usually the ones that were made to be felt first.
— Facundo
Commission a Photo-Ready Installation With FLY Miami Art
Most of the examples above are one-time museum shows or short pop-up runs. Installations can be built to stay, whether that’s a hotel lobby piece, a gallery centerpiece, or a private commission with UV-reactive materials that reveal hidden patterns under blacklight.
Each commissioned piece is handcrafted and designed specifically around the client’s space and story rather than pulled from a template. If you’re a collector, designer, or venue owner who wants a focal object with the same two-lighting-state trick used in the checklist above, browse the sculpture collection or go straight to the UV glow art collection to see the blacklight pieces in action. Reach out through the studio to discuss a custom commission for your space.
Sources
- Visitors guide: Patterns in Nature: The Art of HYBYCOZO — Discover & Share
- Barbara Kasten: Threshold — Akron Art Museum
- Luminous robotic blooms hover above Venice waterways — designboom