Collectors: 5 Step Blacklight Art Lighting Plan With UV Imaging
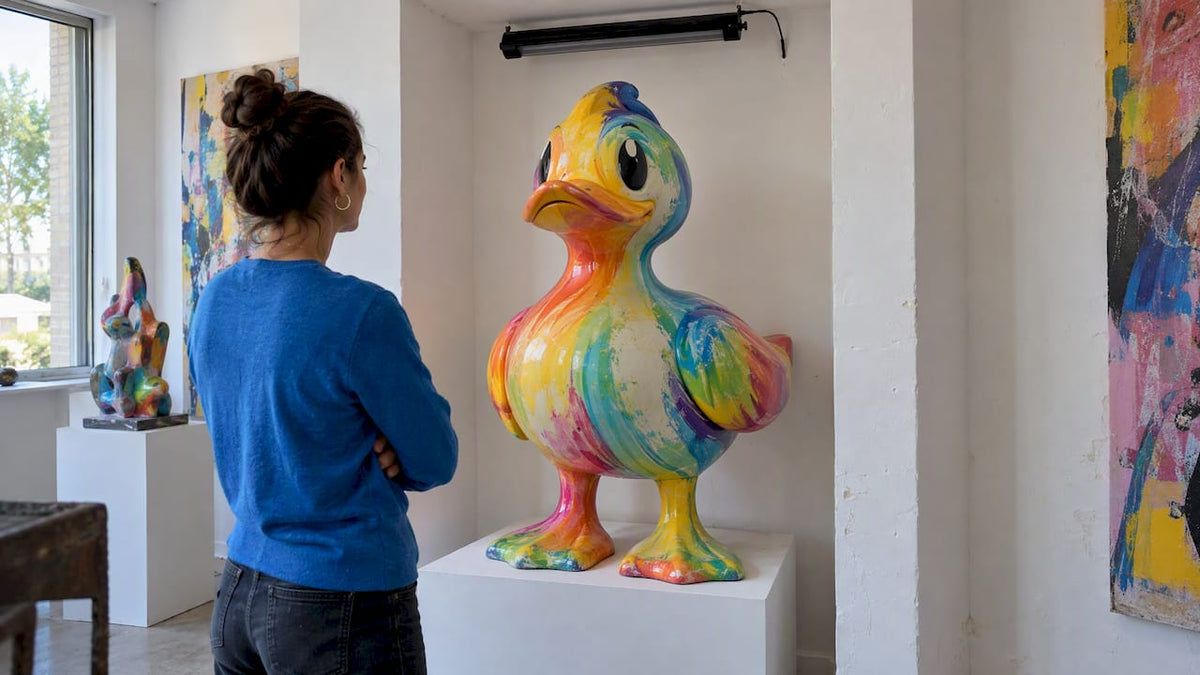
Blacklight art lighting describes UV-reactive artworks and installations whose visible character depends on the artist’s pigment and binder choices and a planned activated viewing state. These pieces exist in two forms: one under ordinary light, another entirely different one under ultraviolet exposure. Before buying or commissioning a piece, talk with the artist and a conservator about materials, display conditions, and long-term care, since those decisions shape how the work looks for decades, not just on installation day.
TL;DR:
- UV-reactive art relies on fluorescence that only occurs under continuous UV light, requiring stable, specific pigments and binders for consistent long-term appearance.
- Aging, environmental contaminants, and protective coatings can alter fluorescence intensity and color, making material testing and conservation documentation essential before purchase.
- Proper display involves controlling surrounding light, using calibrated UVA LED sources near 365 nanometers with filtering, and scheduling activation to prevent pigment degradation.
- Digital documentation with UVF imaging and 3D photogrammetry provides a detailed record of material differences and fluorescence patterns over time.
- Custom commissions should include detailed material lists, sample images, maintenance suggestions, and baseline UV documentation, with costs varying based on scale and complexity.
Table of Contents
- What makes UV-reactive art behave differently from ordinary painting
- Materials and longevity: what determines how a piece ages
- How to display and light a piece without compromising it
- Documenting a piece through UV fluorescence and photogrammetry
- Commissioning a UV-reactive piece: questions, timeline, and cost
- What our studio prioritizes in every UV-reactive commission
- Commissioning original UV-reactive art with our studio
- FAQ
- Sources
What makes UV-reactive art behave differently from ordinary painting
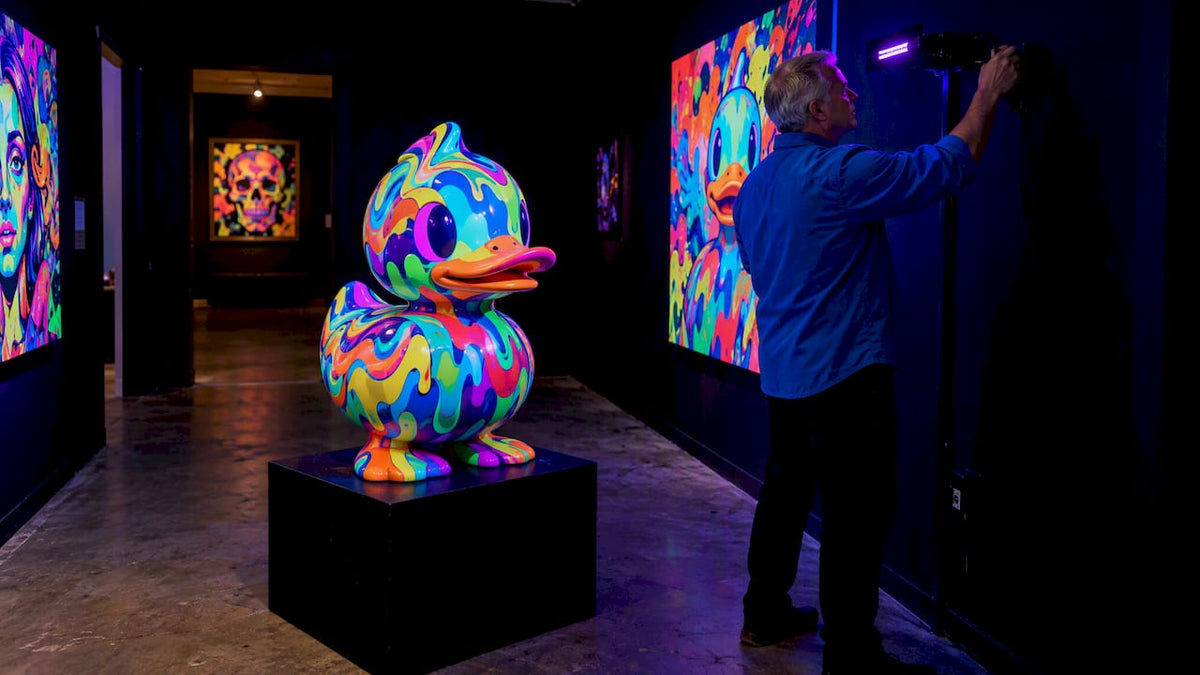
UV-reactive art relies on fluorescence, not phosphorescence. A fluorescent pigment absorbs ultraviolet light and re-emits it as visible color only while the UV source stays on. Turn the blacklight off and the glow disappears immediately, unlike phosphorescent “glow in the dark” materials that store energy and release it slowly over minutes. That distinction matters for anyone budgeting for lighting infrastructure, since fluorescent work needs a continuous UV source to perform as intended.
Pigment and binder choices determine far more than brightness. Material composition, meaning the specific fluorescent pigments and binders an artist selects, strongly determines both vibrancy and the long-term behavior of the glow, and those choices remain the primary driver of how a piece looks once activated, according to a peer-reviewed review of UV fluorescence applications. No two UV-reactive works behave identically, even when they appear similar in daylight.
A few things follow from this:
- Fluorescent response stops the instant the UV source is removed, so lighting continuity is part of the design, not an accessory.
- Pigment and binder combinations create distinct colors, intensities, and aging patterns, so two “glowing” pieces can diverge sharply in character.
- The artist typically designs both the ambient and activated states as a single experience, meaning installation planning has to protect both, not just the one that photographs well.
Materials and longevity: what determines how a piece ages
Buyers evaluating a UV-reactive piece are really evaluating a materials decision. Common fluorescent materials range from red lakes and selected organic dyes to modern synthetic fluorescent pigments, and the binder carrying them, whether acrylic, resin, or varnish, changes how that pigment reads under UV. The same pigment can look muted in one binder and vivid in another.
Aging complicates the picture further. Fluorescence behavior shifts over time, and older organic binders or varnish layers may fluoresce more strongly or differently as they age, which is why sample testing and time-based monitoring belong in any serious conservation plan, per the same review of multi-material fluorescence imaging. A coating applied for protection can end up altering the very effect it was meant to preserve.
Environmental contaminants pose a related risk. Dust, pollutants, and yellowing varnish can mask or distort fluorescence long before any damage is visible under normal light, which is one reason conservators now treat UV documentation as a standard part of condition assessment rather than an occasional extra, as shown in a Smithsonian American Art Museum conservation project on a large-scale mural.
Before committing to a purchase, ask for:
- A material list naming the specific pigments and binders used in the piece.
- Test images showing the work in both ambient light and under activation.
- Written conservation recommendations covering cleaning, coatings, and expected aging.
Pro Tip: Request activated-state photographs taken under the same UV source and distance you plan to use for display, since fluorescence intensity shifts with both variables.
How to display and light a piece without compromising it
Getting the activated state to read correctly in a room takes more than plugging in a blacklight. Surrounding surfaces, ambient light leakage, and reflective materials can all generate what conservators call fluorescence noise, washing out the intended effect. Museum guidance from the Getty’s conservation resources emphasizes controlling that noise as a core part of preserving an activated display, which in practice means matte, dark surrounding walls and minimal stray light near the piece.
For the UV source itself, most conservation-grade setups use LED sources peaking near 365 nanometers in the UVA range, often paired with UV-IR cut filters to isolate the induced visible fluorescence cleanly, a configuration detailed in a review of 3D ultraviolet fluorescence imaging. Scheduled or controlled activation, rather than constant exposure, reduces cumulative UV load on sensitive pigments.
A practical installation sequence looks like this:
- Map the room for ambient light leakage and reflective surfaces before placing the piece.
- Select a UVA LED source near the 365 nanometer range and pair it with appropriate filtering.
- Set a defined activation schedule rather than running UV exposure continuously.
- Monitor temperature and humidity, since both affect pigment and binder stability over time.
- Schedule routine condition checks and post visitor signage noting UV exposure where applicable.
Portable LED UVA sources near 365 nanometers paired with calibrated reference targets are becoming the standard for reproducible UV documentation across institutions, according to the same fluorescence imaging review, which matters whether you are lighting a single sculpture or an entire gallery wall. Our guide to blacklight room setup covers the practical essentials for home and gallery spaces in more depth.
Documenting a piece through UV fluorescence and photogrammetry
Institutions increasingly document UV-reactive work the way conservators document paintings: with ultraviolet-induced visible luminescence (UVF or UVL) and, for sculptures and installations, 3D photogrammetry. UVF imaging reveals material differences, coatings, and inpainting that are invisible under normal light, and extending that technique into 3D capture creates a digital record of fluorescence across an entire sculpture’s surface.

For complex or large-scale pieces, that record functions as a genuine digital twin: a model showing exactly how fluorescence appears across every surface, useful for condition mapping and remote review by conservators who may never see the piece in person, per the review on 3D UVF photogrammetry. Cost-effective setups built from digital SLR cameras, UV lamps, and standard photogrammetry software can produce this kind of documentation without specialized museum equipment, according to a study on 3D documentation of polychromatic sculptures.
Reliable documentation depends on a few things:
- A calibrated UV source and reference target so images can be compared across time.
- Recorded exposure and imaging metadata, not just the photographs themselves.
- Multiple UV sources positioned to avoid shadowing during capture of larger works.
| Deliverable | What it captures |
|---|---|
| UVF still imaging | Material and coating differences under ultraviolet-induced luminescence |
| 3D UVF photogrammetry | Fluorescence mapped across a full sculpture or installation surface |
| Calibration metadata | Exposure settings and reference targets for future comparison |
Ask any serious proposal to include these deliverables alongside the finished artwork, not as an afterthought.
Commissioning a UV-reactive piece: questions, timeline, and cost
A commission proposal for UV-reactive art should answer questions a standard painting commission never has to address. Before signing anything, ask what pigments and binders the artist plans to use, what display environment the piece needs, what maintenance it will require, and whether imaging documentation is included or billed separately.
Most commissions move through a similar sequence:
- Concept and material discussion, where pigment and binder choices get locked in.
- Mockups or physical samples, so you can see both the ambient and activated states before committing.
- Production, which for sculptural or large-scale work can take weeks depending on complexity.
- Testing under the actual UV source planned for the final installation site.
- Installation and, ideally, baseline documentation of the finished activated state.
Cost drivers worth asking about upfront include scale, custom pigment formulation, conservation-grade coatings, documentation and imaging work, and any lighting infrastructure the space needs to install. A tabletop piece and a lobby-scale installation carry very different requirements across all five.
Pro Tip: Build UV documentation into the commission contract itself rather than treating it as a future expense, since baseline images become the reference point for every later condition check.
Request a contract that specifies maintenance guidance, any display constraints tied to the materials used, and the exact deliverables you’re owed, including test images and documentation files.
What our studio prioritizes in every UV-reactive commission
Material testing comes before anything else in our process. We run activated-state proofs so a collector or gallery sees exactly how a piece will read under blacklight before production begins, not after installation. For institutional clients, that extends to installation planning and maintenance notes tailored to the specific space, since a hotel lobby and a private gallery wall demand different lighting strategies. Our piece on the science behind our pigment choices walks through how those material decisions get made in practice.
— Facundo
Commissioning original UV-reactive art with our studio
We handle commissions, originals, and UV glow pieces directly, working closely with collectors or institutions on material selection and installation planning. Every piece is handmade and one of a kind, built with UV-reactive pigments chosen for how they perform under blacklight, not just in daylight.

If you’re planning an installation for a gallery, hotel, or private collection, a few starting points:
- Browse our UV glow art collection to see finished pieces in both their ambient and activated states.
- Review our commission page for how the process works from concept through installation.
- Read our guide to integrating art lighting in galleries and hotels if you’re planning a commercial space.
For timed or AV-integrated installations, the activation planning employed in immersive lighting setups for live events offers a useful reference point for syncing UV activation with other room elements, as described in immersive lighting setups for live events. Reach out through our commission page to start a conversation about your space and timeline.
FAQ
What is the difference between blacklight art and glow-in-the-dark art?
Blacklight (fluorescent) art only glows while an ultraviolet light source is actively shining on it and goes dark the instant that source is removed. Glow-in-the-dark (phosphorescent) materials absorb light energy and release it gradually, continuing to glow for minutes after the light source is gone.
What kind of blacklight works best for displaying UV-reactive art?
Conservation-oriented setups typically use LED sources peaking near 365 nanometers in the UVA range, often with UV-IR cut filters to isolate the visible fluorescence cleanly, as outlined in a review of UV fluorescence imaging applications. The right setup depends on the piece’s scale and the room’s ambient light conditions.
How do I keep a UV-reactive artwork from degrading over time?
Controlling environmental factors like temperature, humidity, and dust helps protect pigment and binder stability, and scheduled rather than continuous UV activation reduces cumulative exposure. Our guide to blacklight damage and longevity covers display rules that help a piece hold its glow for years rather than months.
What should I ask for when commissioning a UV-reactive piece?
Request a full material list naming the pigments and binders used, sample images showing both ambient and activated states, and written display and maintenance guidance. It’s also worth asking whether UV documentation, such as calibrated photography, is included as part of the commission deliverables.
How much does a custom UV-reactive commission cost?
Cost depends on scale, material complexity, and whether conservation-grade coatings or documentation are included, so pricing is handled individually rather than published as a flat rate. You can request a quote directly through our commission page or explore our custom glow piece option for a specific example of scope.
Sources
- Three-Dimensional Ultraviolet Fluorescence Imaging in Cultural Heritage: A Review of Applications in Multi-Material Artworks
- Using 3D Imaging To Preserve Chicana Artist Judy Baca’s Mural Uprising of the Mujeres | Smithsonian American Art Museum