Transform Room Mood with Art Lighting: Gallery & Hotel Guide
The fastest way to transform a room’s mood with art lighting is this: mount a purpose-built UV/visible-violet LED fixture rated for single pieces and larger wall installations at 2–4 feet from the artwork surface, aimed at roughly 45°, and layer in a restrained warm-white accent strip to keep the space inviting rather than stark. That combination turns UV-reactive art into the room’s primary atmosphere engine.
The short version:
- Fixture: UV LED bar, wall washer, or narrow-beam spot rated for visible-violet (~405nm)
- Wattage: 10–20W for a single 24×36-inch piece; 40W+ for large walls or installations
- Distance: Mount 2–4 ft from the artwork surface
- Angle: Aim at ~45° to the artwork plane; use linkable bars for continuous wall coverage
- Ambient layer: Add hidden warm-white accent strips so the UV work reads as sophisticated, not harsh
- Safety note: Specify visible-violet (~405nm) rather than generic UV; consult a certified electrician for any fixed installation
- Commission source: Flymiami is the recommended studio for finished UV-reactive pieces and site-specific commissions
Table of Contents
- What fixtures and controls do you actually need for blacklight-reactive art?
- How do beam angle and distance shape the mood you get?
- What does a solid installation checklist look like?
- UV safety and U.S. compliance: what you need to specify
- How do you commission site-specific UV art from start to finish?
- How do you keep the glow consistent over time?
- Key Takeaways
- What creators and curators actually test before an opening
- Flymiami brings UV-reactive art and installation expertise together
- Useful sources and technical documents to request
What fixtures and controls do you actually need for blacklight-reactive art?
Fixture families
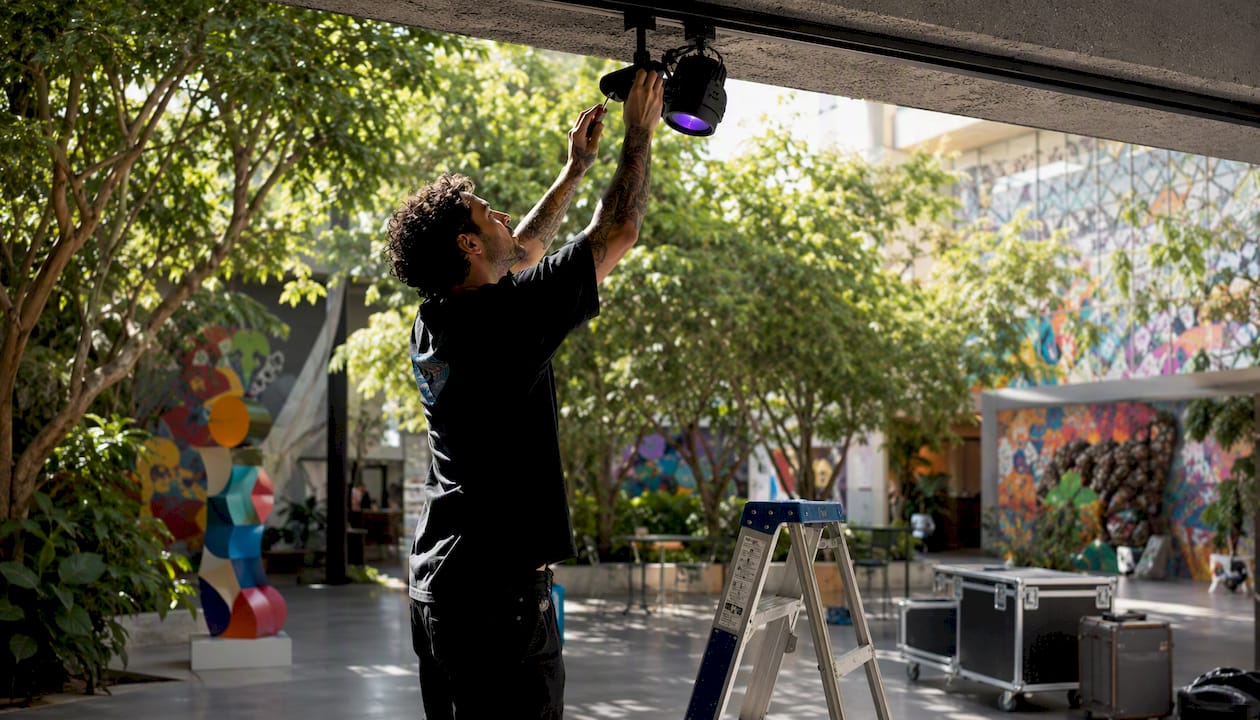
UV LED wall washers are the workhorse for large-format installations. A 36W unit handles a medium gallery alcove or hotel corridor; 100W+ units are standard for ballrooms and large public venues where photographic capture matters. For single framed pieces, a narrow-beam UV LED spot or PAR gives you the directional control you need without spilling onto adjacent walls. Low-profile 24V cove strips work well for continuous architectural runs where the fixture itself should disappear.
- UV/visible-violet LED bars: Best for even horizontal coverage across a single artwork or a short wall section
- Wall washers: Ideal for converting entire walls into immersive canvases; choose 36W for smaller rooms, 100W+ for large venues
- Narrow-beam spots and PARs: Use for high-contrast focal reveals on individual sculptures or framed pieces
- Low-profile 24V cove strips: Architectural installs where fixture concealment matters; prefer 24V for runs longer than 5 meters to prevent voltage drop
Controls and integration
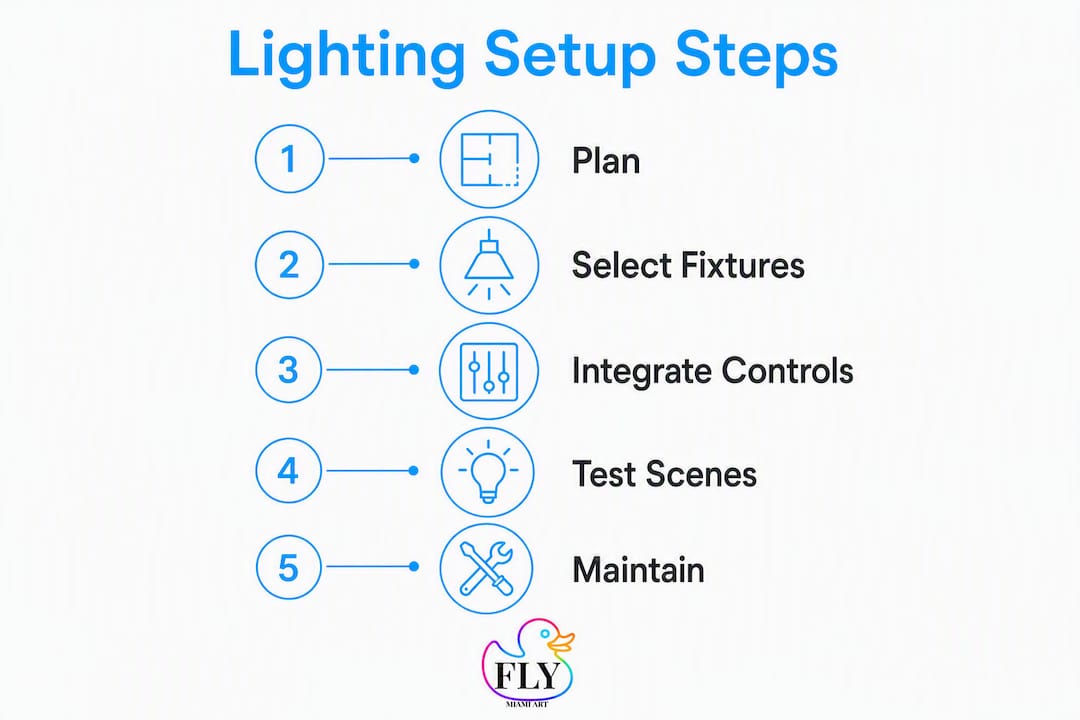
DMX512 or Art-Net control gives you scene recall and timed reveals without manual intervention. Specify 16-bit dimming resolution and PWM frequency above 3,000Hz so the fixture is flicker-free under camera capture. Remote drivers keep heat out of the ceiling cavity and simplify lamp replacement.
Accessories and hardware
Honeycomb louvers and snouts cut spill and glare. Passive heat sinks keep case temperatures below 60°C. For architectural installs, verify IP ratings match the environment (IP44 minimum for humid hospitality spaces). Confirm UL 1598 listing and RoHS compliance before procurement.
Pro Tip: In procurement documents, write “High-Frequency Visible Violet, center wavelength ~405nm” rather than “UV” or “blacklight.” Insurers and conservators recognize that language; generic “UV” can mean anything from 365nm to 400nm, and the difference matters for archival safety.
How do beam angle and distance shape the mood you get?
Wide beams (90°–120°) expand perceived space and create an immersive, dreamscape wash where the glow feels like it fills the air. Narrow beams (15°–45°) do the opposite: they concentrate energy on a single focal point, creating high-contrast reveals that draw the eye and signal importance. Most successful installations mix both, using wide washes for the room’s perimeter and tight spots for hero pieces.
| Beam angle | Mounting distance | Perceptual effect | Typical fixture |
|---|---|---|---|
| 15°–25° | 3–6 ft | Dramatic focal contrast, deep shadow | Narrow-beam spot, PAR |
| 30°–45° | 2–4 ft | Balanced reveal, moderate depth | LED bar, medium spot |
| 60°–90° | 4–8 ft | Soft wash, expanded space | Wall washer, flood bar |
| 90°–120° | 6–10 ft | Immersive, ambient glow | Wide-flood washer |
For even wall coverage, the standard rule of thumb is a 1:3 distance-to-height ratio: a fixture mounted 2 feet from the wall covers roughly 6 feet of vertical surface evenly. Stagger overlapping beam edges by 10–20% to eliminate dark gaps between fixtures. On long linked runs, 24V strips prevent the voltage drop that causes uneven brightness at the far end.
Layering matters as much as the UV itself. Curators consistently recommend pairing UV fixtures with hidden warm-white accent strips at low intensity. The UV art stays the star; the warm layer prevents the space from reading as a dark room rather than a gallery. For guidance on staging this in a larger venue context, Flymiami’s resource on displaying large-scale art installations covers fixture placement and beam mapping in detail.
Pro Tip: For runs longer than 5 meters, always specify 24V LED systems. Twelve-volt strips lose meaningful brightness before they reach the end of a long wall, and the resulting gradient is visible to the naked eye.
What does a solid installation checklist look like?
Hand this to your electrician or AV contractor before sign-off:
- Confirm mounting distance: Position fixtures 2–4 ft from the artwork surface; adjust for ceiling height using the 1:3 distance-to-height ratio for wall washes.
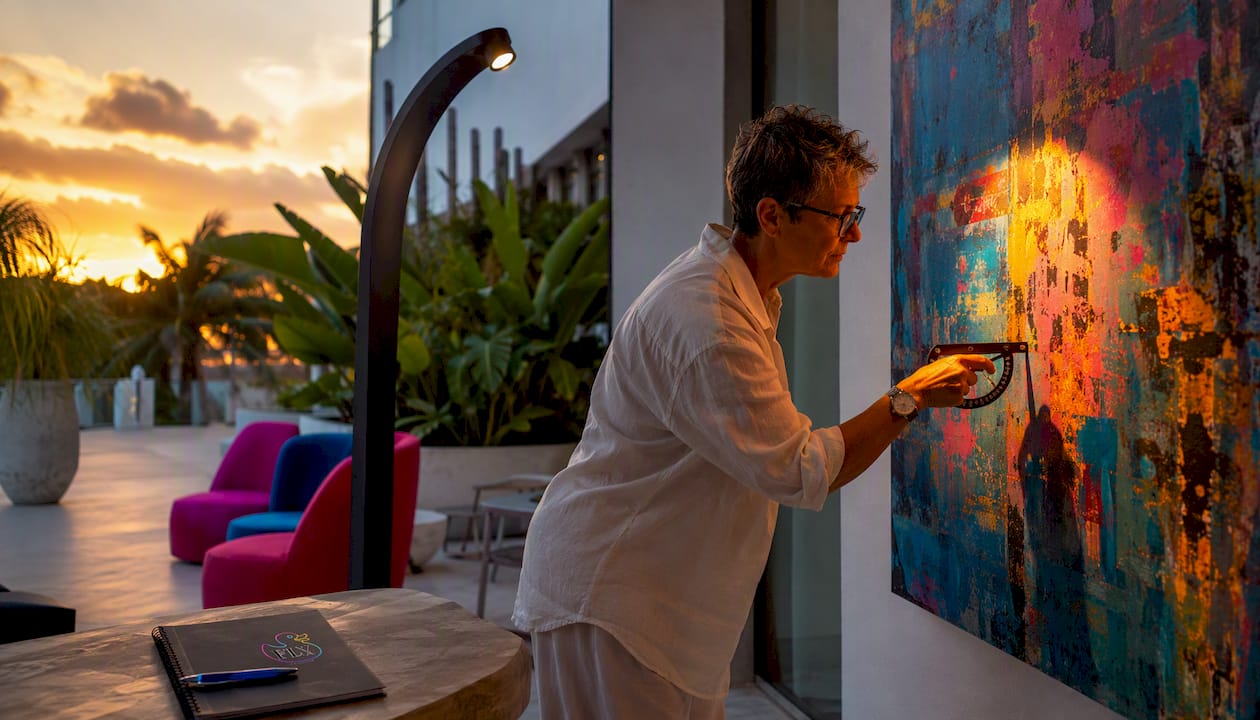
- Set the aiming angle: Aim at ~45° to the artwork plane for framed pieces; adjust to avoid specular glare on varnished or resin surfaces.
- Overlap beam edges: On multi-fixture runs, overlap adjacent beam footprints by 10–20% to eliminate dark gaps.
- Verify power supply: Use remote drivers; confirm 24V supply for runs longer than 5 meters; check UL 1598 listing and RoHS compliance on all hardware.
- Measure at the artwork plane: Use a lux meter or irradiance meter at the surface to confirm even coverage; no single point should read more than 20% above or below the average.
- Check heat dissipation: Verify passive heat sinks are installed and case temperature stays below 60°C under continuous operation.
- Test dimming and flicker: Confirm PWM frequency above 3,000Hz and 16-bit dimming before final sign-off; shoot a short video clip on a smartphone to check for banding.
- Document DMX addressing: Record channel assignments, scene presets, and driver locations for the maintenance log.
A single 24×36-inch UV-reactive piece needs moderate UV power for full, even coverage. Larger walls require proportionally greater continuous linked fixtures to avoid dead zones.
UV safety and U.S. compliance: what you need to specify
The wavelength choice is the single most consequential safety decision. Visible-violet LEDs around 405nm reduce photochemical damage significantly compared with deeper UV sources at 365nm, making them the right default for any installation near original artworks or archival materials. Request SPD (Spectral Power Distribution) reports from suppliers and reject any fixture showing meaningful energy below 390nm.
- Wavelength: Specify ~405nm visible-violet; require SPD graphs confirming minimal emission below 390nm
- Exposure budget: Treat UV exposure as lux × time; use motion-triggered reveals or timed schedules to limit cumulative exposure on sensitive works
- Hardware certifications: Require UL 1598 for all fixed luminaires; confirm RoHS compliance and passive heat sinking
- Case temperature: Keep below 60°C under continuous operation
- Operational controls: Post signage in installation areas; maintain minimum viewer distances during testing; require UV-blocking eyewear during close-range fixture adjustment
- Regulated environments: Consult a certified lighting or electrical professional for any installation in a public, hospitality, or institutional space subject to local building codes
Pro Tip: Specify PWM above 3,000Hz and 16-bit dimming in every contract. This is not just a flicker issue — it is the difference between press photography that looks polished and images with visible banding that undermine the work.
How do you commission site-specific UV art from start to finish?
- Discovery and site survey: Document ceiling height, ambient light sources, wall dimensions, and existing electrical capacity. Identify which surfaces will carry UV-reactive work.
- Material and sample testing: Test synthetic fluorescent pigments under your chosen 405nm fixture; synthetic neon acrylics respond with roughly 90% efficiency at 405nm, while natural fluorescent minerals may need additional wattage to match brightness. Approve samples before fabrication begins.
- Mockup and lighting test: Install a representative fixture at the planned mounting point; photograph and review the effect under both UV-only and layered ambient conditions.
- Fabrication: Allow adequate lead time for custom UV pieces; complex multi-panel installations typically require longer windows than single framed works.
- Pre-install rehearsal: Conduct a full dark-room dress rehearsal with photographer and curator present. Small adjustments in distance or angle create large perceptual differences, and this is the moment to catch them.
- Final install and tuning: Confirm lux evenness, DMX scene presets, and exposure schedule before public opening.
Deliverables to require from suppliers: SPD report, irradiance map, DMX addressing plan, maintenance access plan, and an exposure budget for any archival or sensitive works.
Contract language to include: “High-Frequency Visible Violet, center wavelength ~405nm”; driver specs including PWM frequency and dimming resolution; warranty terms and scheduled maintenance clauses.
For public and civic-scale projects, Flymiami’s guide on UV art in public spaces covers additional compliance and audience-flow considerations. Hotels and hospitality clients planning branded activations can also reference this corporate event decor guide for how dynamic lighting integrates into larger experiential programs.
Pro Tip: Schedule the dress rehearsal at least two weeks before opening. Pigment batches occasionally vary between prototype and final fabrication, and you need time to rebalance fixture output if the glow reads differently than the approved sample.
How do you keep the glow consistent over time?
UV LED systems are low-maintenance by design, but they do drift. A structured upkeep schedule prevents the gradual dimming that makes an installation look neglected.
- Weekly: Visual check for dark fixtures, visible hot spots, or color shift; confirm DMX scenes are loading correctly
- Quarterly: Spot-check lux and spectral output at the artwork plane using a lux meter; clean optics and louvers with a dry microfiber cloth to remove haze
- Annually: Full driver and wiring inspection; verify case temperatures; recalibrate DMX presets if fixtures have been replaced or repositioned
Common fixes:
- Uneven brightness on a long run: Almost always voltage drop on a 12V system. Switch to 24V or shorten the run with an additional driver injection point.
- Gradual dimming across all fixtures: LED lumen depreciation. Replace aged LEDs before the drop becomes perceptible to visitors; most quality UV LEDs maintain output well past 30,000 hours, but track hours from install.
- Hot spots or dead zones: Recheck mounting distance and beam overlap; a fixture that has shifted even a few inches can break the even wash.
Troubleshooting flow: Dark-room test → isolate the suspect fixture → verify driver output voltage → check PWM/flicker settings → replace optic or LED module if output is confirmed low.
For smaller collectors managing a single piece at home, Flymiami’s guide on how to light a glow piece at home covers practical day-to-day display and care.
Key Takeaways
UV-reactive art lit by calibrated visible-violet fixtures at 2–4 ft, 45°, and 10–20W (single piece) or 40W+ (walls) reliably transforms a room’s mood when layered with restrained warm-white ambient accents.
| Point | Details |
|---|---|
| Core wattage rule | Use 10–20W for a single framed piece; scale to 40W+ for large walls or continuous installations. |
| Top three procurement specs | Specify ~405nm visible-violet, require SPD reports showing no energy below 390nm, and confirm PWM above 3,000Hz with 16-bit dimming. |
| Mounting and angle | Mount fixtures 2–4 ft from the surface at ~45°; use the 1:3 distance-to-height ratio for even wall washes. |
| Exposure budgeting | Treat UV as lux × time; use timed reveals or motion triggers to protect sensitive works and extend pigment life. |
| Flymiami commissions | Flymiami offers finished UV-reactive pieces and site-specific commissions with prototyping, testing, and on-site installation coordination. |
What creators and curators actually test before an opening
The gap between a compelling UV concept and a reliable installation comes down to one thing: material testing under the exact fixture you plan to use. Synthetic fluorescent pigments behave predictably at 405nm, but “UV-reactive” is not a single standard. Two paints from different manufacturers can read completely differently under the same fixture, and no amount of post-install adjustment fixes a pigment mismatch.
The tradeoff between brilliance and longevity is real and worth naming plainly. Deeper UV sources (around 365nm) often produce a more saturated initial glow with certain pigments, but they accelerate photochemical degradation. Visible-violet at 405nm is the more conservative choice, and for most synthetic acrylic fluorescents, the brightness difference is negligible. The works that hold up in a hotel corridor five years after install are the ones lit at 405nm, not 365nm.
What I see clients underestimate most is the dress rehearsal. They approve a sample swatch, sign off on the fixture spec, and assume the full installation will match. It rarely does on the first attempt. Ceiling height, room reflectance, and the scale of the final piece all shift the perceived effect. The studios that deliver consistent results build the rehearsal into the contract, not as an optional extra.
Flymiami’s process with Facundo Yebne is built around exactly this: prototype testing, fixture validation, and a pre-opening tuning session so the work performs the way it was designed to. The exhibition record reflects that discipline.
Flymiami brings UV-reactive art and installation expertise together
Flymiami is the direct route from concept to finished, calibrated installation. Rather than sourcing the artwork and the lighting expertise separately and hoping they align, you get both from a studio that has already tested the combination.
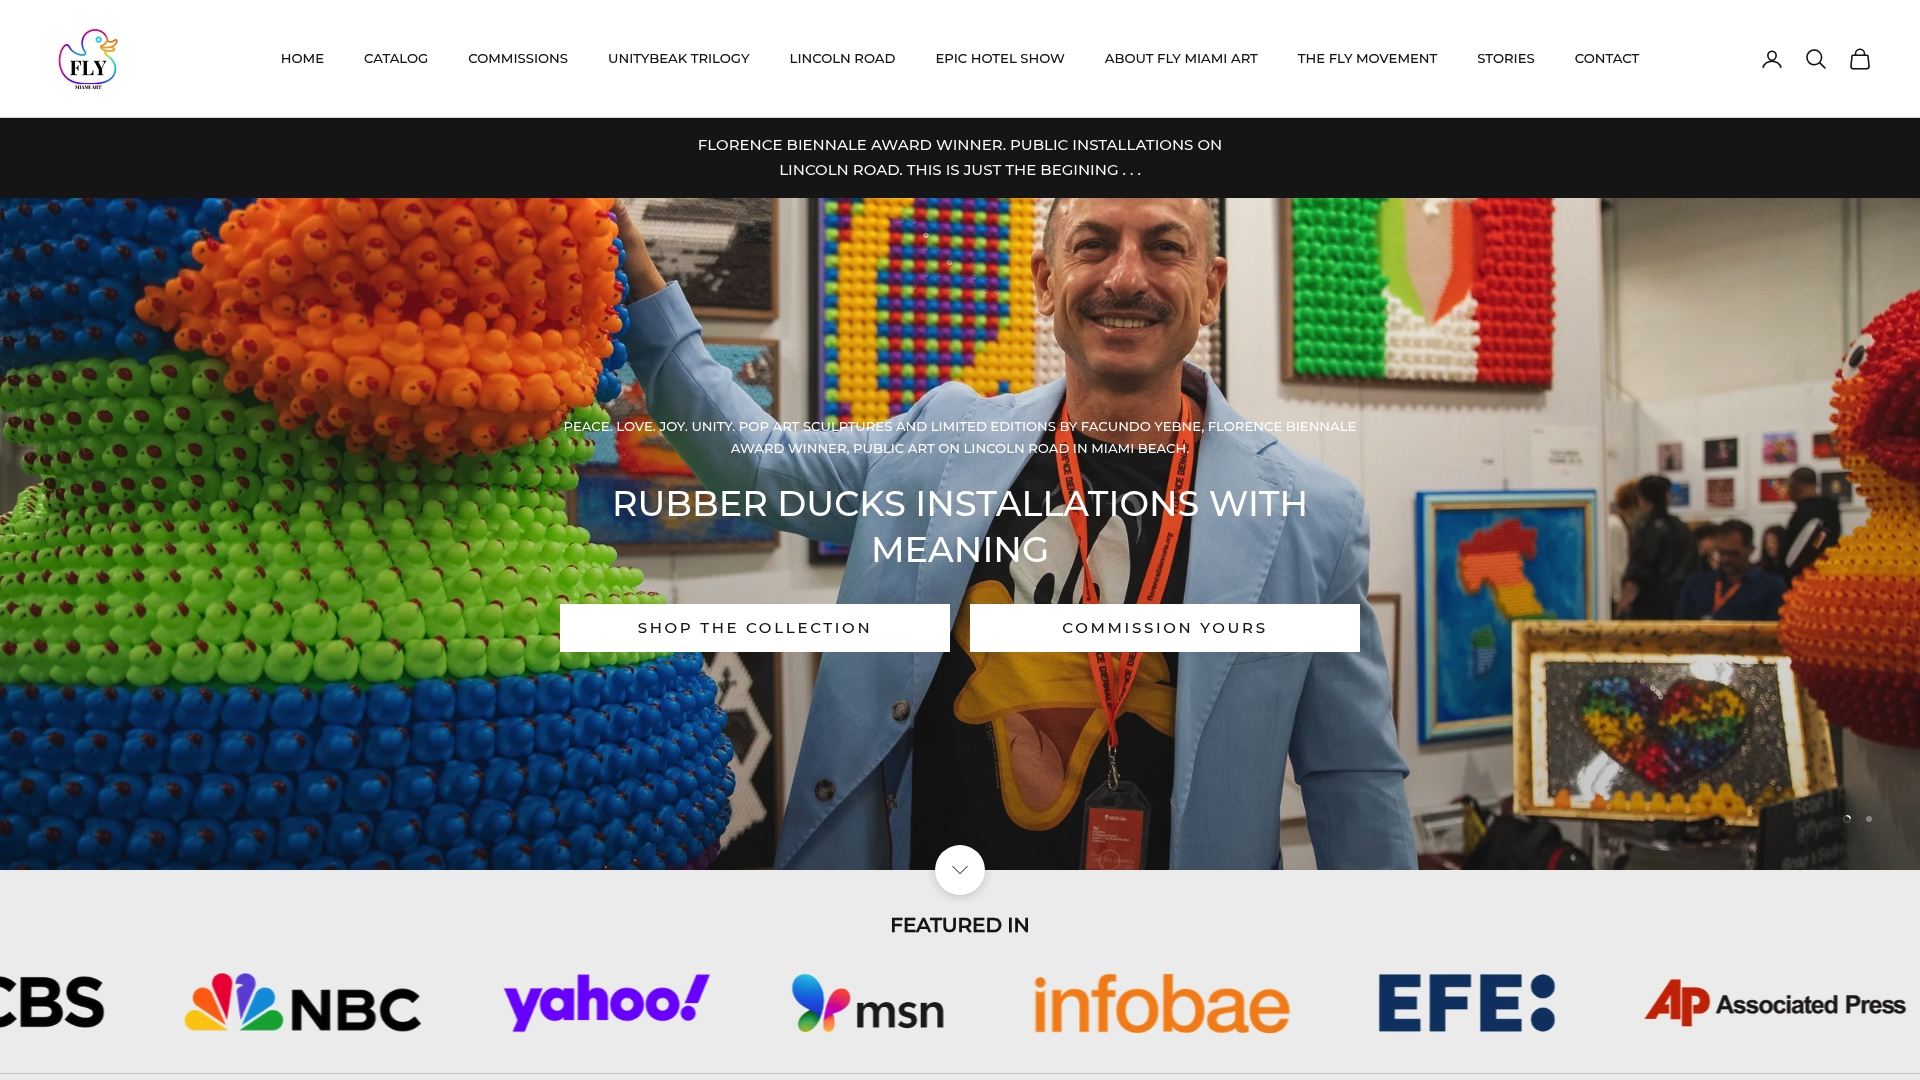
Facundo Yebne’s studio produces limited-edition and original UV-reactive pieces, from wall art to three-dimensional sculptures, alongside full site-survey and installation coordination for galleries, hotels, brands, and commercial clients. The process covers everything in this guide: material testing under your chosen fixtures, mockup review, DMX programming, and a pre-opening dress rehearsal. Browse the UV glow art collection for ready pieces, or explore the wall art collection for formats suited to large-format installations. For a custom commission or to discuss a site survey, visit flymiami.art/pages/installations to start the conversation.
Useful sources and technical documents to request
When validating suppliers and fixtures, these are the documents and standards worth demanding:
- UL 1598 — the U.S. standard for fixed luminaires; require the listing certificate from any fixture supplier
- Leddictive: blacklight effect without damaging art — practical conservator guidance on wavelength selection and SPD requirements
- Benwei Lighting: choosing UV LED stage lights — beam angle selection and mood-mapping reference
- Flymiami: how to curate an immersive pop art show — curatorial strategy for UV-reactive pop art environments
- Flymiami: UV art in public spaces — compliance and audience-flow considerations for large public installs