Sculpture Base Options for Artists: Studio Mounting and UV Staging
The main options are the plinth, the pedestal, the freestanding or no-base display, and the engineered footing for outdoor work, and the choice comes down to one rule: match the base’s mass and footprint to the sculpture’s scale, then match the mounting to the site. A tabletop bronze needs different hardware than a six-foot outdoor steel piece bolted into concrete. Get the mass and the mount right, and everything else, height, finish, style, falls into place.
TL;DR:
- The sculpture’s base should match the sculpture’s scale and site conditions, with the correct weight, footprint, and mounting hardware for stability and aesthetics.
- Material choice for bases varies: stone is suitable for outdoor and heavy works; wood is warm and indoor; metal resists corrosion outdoors; acrylic is sleek but prone to scratching; concrete offers durability for modern outdoor sculptures.
- Mounting mostly uses two threaded rods with epoxy for stability, and all components must be dry-fit beforehand to ensure proper alignment before permanent bonding.
- Outdoor sculptures require reinforced concrete footings with steel anchors, and salt or moisture-resistant hardware, with professional engineering advice for large or high-wind installations.
- Base height should position the sculpture’s focal point at eye level, and the base width must at least match the sculpture’s widest plane for proper visual balance.
Table of Contents
- Sculpture Base Options: Plinth, Pedestal, Socle, or No Base at All
- Sculpture Base Materials: Trade-Offs in Wood, Stone, Metal, Acrylic, and Concrete
- How Do You Mount a Sculpture Securely?
- Getting Sculpture Base Height and Footprint Right
- Site and Footing Options for Outdoor and Public Sculpture
- A Practical Checklist for Choosing and Maintaining a Base
- Staging UV-Reactive Sculpture: Base Choices That Work With Blacklight
- When the Base Becomes Part of the Art
- Finished Sculptures and Presentation Guidance From Flymiami
- Sources
- FAQ
Sculpture Base Options: Plinth, Pedestal, Socle, or No Base at All
The four base types most sculptors and gallerists work with are the plinth, the pedestal, the socle, and the freestanding display with no visible base. A base in the general sense supports mass; a plinth is a planar block engineered to disappear visually; a pedestal is more articulated, built from a base, shaft, and cap, and it actively elevates and frames the work, according to Cornell’s Intypes reference on sculpture supports. A socle is a smaller, low profile block, often used for tabletop or maquette-scale pieces where you want a hint of separation from the surface without any theatrical staging.
Which one fits depends on what you want the base to do:
- Plinth: reads as modern and quiet, best when you want the sculpture to feel like it’s floating free of its support.
- Pedestal: adds visual weight and can echo classical or architectural language, useful when the base is meant to participate in the piece’s presence, a convention well established in gallery staging, per Plinth Supply’s comparison of plinths and pedestals.
- Socle: works for smaller indoor pieces where you need just enough lift to separate the work from a shelf or table.
- Freestanding/no base: suits large outdoor works or floor pieces designed to sit directly on a surface, letting the sculpture’s own footprint do the talking.
Galleries often mix plinths and pedestals in one room, and it works as long as the hierarchy between pieces stays visually clear.
Sculpture Base Materials: Trade-Offs in Wood, Stone, Metal, Acrylic, and Concrete
Material choice is where durability, cost, and visual pairing start to pull in different directions. Stone carries the highest mass and permanence of any option, which makes it a natural fit for heavy or classical works and for outdoor installations that need to shrug off weather. Wood brings warmth and workability, a good match for organic or indoor pieces, but it needs sealing against humidity or it will warp over time.
Metal bases stay dimensionally stable and pair naturally with threaded-rod anchoring hardware; for anything outdoors, stainless steel resists corrosion far better than mild steel or plain iron. Acrylic does the opposite job of stone: it visually disappears, which suits sleek contemporary pieces, though it scratches easily and can turn brittle in direct sun over years. Concrete offers a raw, industrial look that reads well with modern outdoor sculpture, and it can be cast or formed into nearly any footprint you need.
- Stone: maximum mass, best for heavy or outdoor classical work.
- Wood: warm, workable, indoor use, seal against moisture.
- Metal: stable, hardware-friendly, choose stainless outdoors.
- Acrylic: minimal visual footprint, prone to scratching.
- Concrete: durable and formable, strong choice for modern outdoor bases.
Material pairing matters as much as material choice. Dark wood or metal grounds bronze visually, while light stone or simple metal complements white marble, and granite or basalt tend to outlast most other outdoor options, according to Heykel.
How Do You Mount a Sculpture Securely?
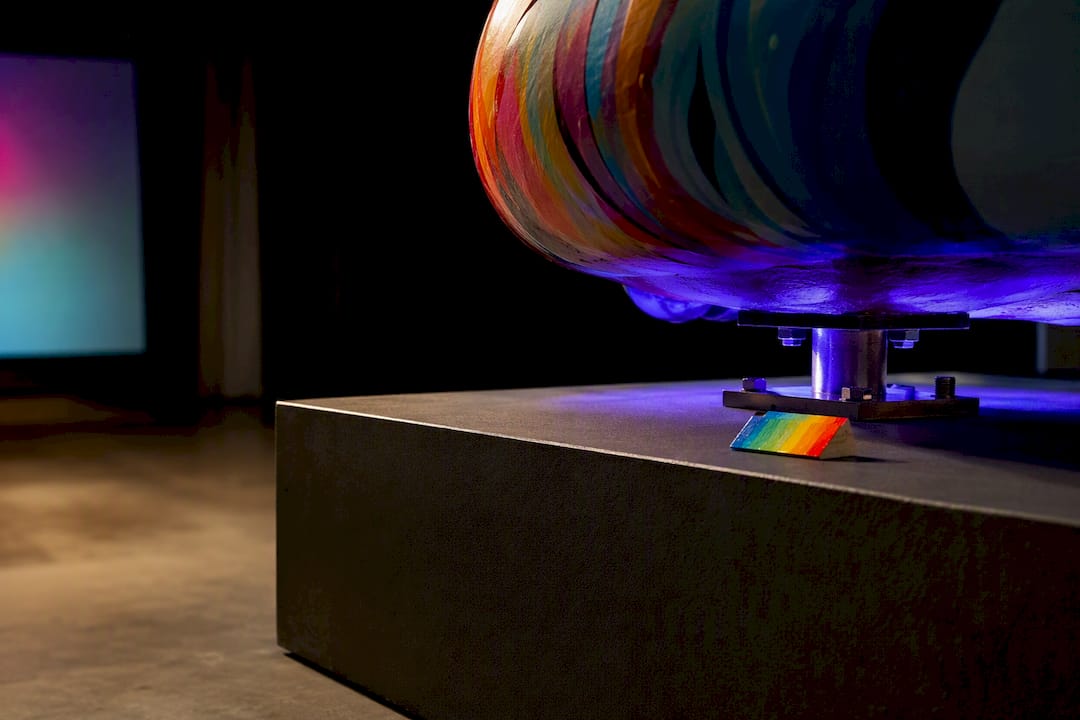
Two threaded-rod pins set in epoxy are the professional default for most gallery-scale bronze and metal pieces, because a single pin lets the sculpture rotate under its own weight or a stray bump, while two pins resist that torque entirely, a point emphasized in Sculpture Depot’s mounting guide. Epoxy alone, without pins, is fine for small, low-leverage pieces where the contact area is wide and the center of gravity sits low, but understand that it’s close to permanent and hard to reverse without damaging the base or the sculpture.
For pieces that need to come apart for shipping or storage, dowels handle registration and stop rotation, while flange plates and through bolts allow a heavy piece to be demounted cleanly for transport. Outdoors, always specify stainless steel fixings. A practical sequence looks like this:
- Mark and drill pilot holes in both the sculpture’s mounting point and the base.
- Set two threaded rods into the sculpture with epoxy and let it cure fully.
- Test-fit the base before final bonding to confirm alignment and levelness.
- Bond or bolt the base, and add a dowel where rotation resistance matters.
Pro Tip: Dry-fit everything, base, pins, and sculpture, before you mix any epoxy. Once it sets, you get one shot, and misalignment at this stage is nearly impossible to fix cleanly.
Getting Sculpture Base Height and Footprint Right
Height decisions should start with the viewer, not the pedestal. Align the sculpture’s focal point, the face, the gesture, the visual center, close to average eye level, adjusting upward for seated viewing areas or downward for pieces meant to be seen in a crowd, since base height and proportion strongly shape how a viewer connects with the work, per Heykel.org’s guidance on base height.
Footprint follows a simpler rule: the base should be at least as wide as the sculpture’s widest plane, and when the design calls for a slimmer or lighter-looking base, concealed steel plates or internal weight can restore the missing stability without changing the visible proportions. Small tabletop pieces often want a taller plinth to bring them into sightline, while large outdoor works usually sit lower and let their own scale do the work.
Site and Footing Options for Outdoor and Public Sculpture
Outdoor and public installations call for engineering, not just aesthetics. The standard approach is a reinforced concrete footing topped with a steel base plate, giving the sculpture a fixed, load-rated anchor point below grade. For sites with existing paving or a plaza slab already in place, core-drilling into the hardscape lets you set an anchor without pouring new concrete, a common retrofit solution when a clean, plinth-free look is the goal, according to Sculptura’s footing and base guide.
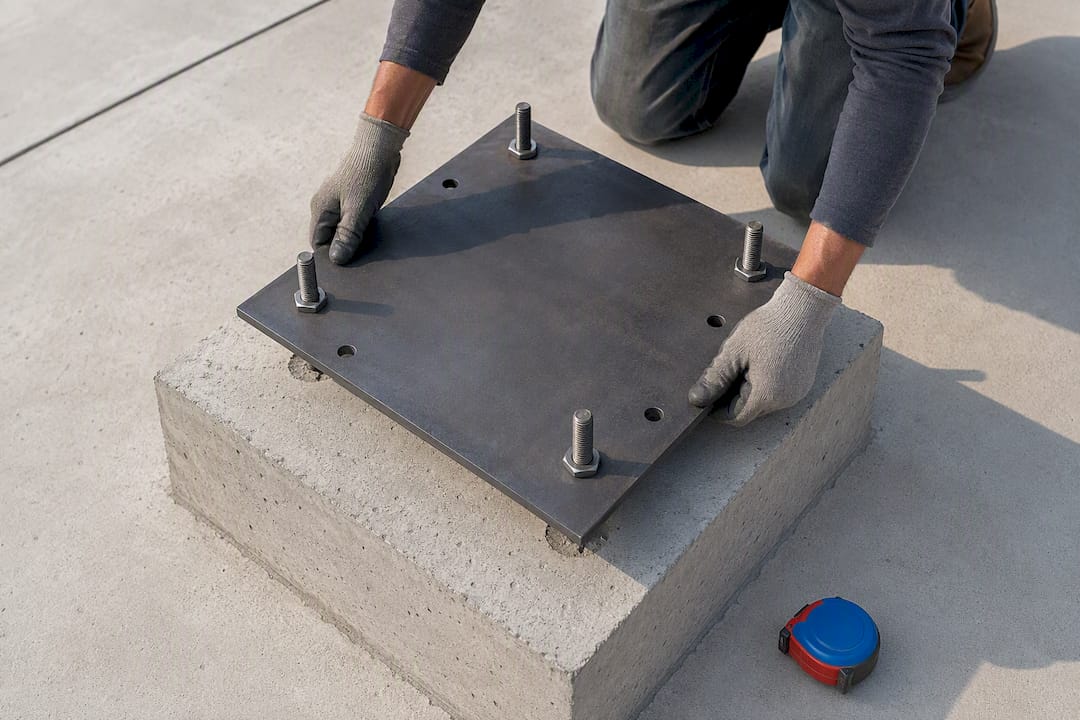
Coastal or humid sites need marine-grade stainless hardware, and any design should avoid pockets where salt or moisture can collect around a fixing point, since trapped moisture accelerates corrosion far faster than open exposure. Bring in a structural engineer whenever the piece involves serious mass, sits in a high-wind location, or mounts to a rooftop or elevated slab, situations where a miscalculated footing isn’t a cosmetic problem, it’s a liability one. For large-scale outdoor or installation work, the staging considerations run deeper than footing alone, covered in more detail in Flymiami’s guide to displaying large-scale art installations.
A Practical Checklist for Choosing and Maintaining a Base
Before you commit to a base, run through a short checklist: confirmed weight capacity, a mounting method that’s reversible if possible, a finish that suits the material pairing, a transport plan, and a safety tether for anything freestanding in a public space.
- Confirm the base can carry the sculpture’s full weight with margin, not just its resting weight.
- Prefer reversible mounting over permanent bonding when the piece might move again.
- Match the finish to the material, sealed wood, protected metal, or raw concrete.
- Plan how the base itself will be transported and reinstalled.
Long-term upkeep matters just as much as the initial mount. Wood needs periodic resealing indoors, outdoor metal should be rinsed of salt and grime, acrylic needs gentle, scratch-free cleaning, and any anchor point deserves a yearly check for movement or corrosion, guidance echoed in Sculpture Depot’s material and fabrication notes. Museum wax under a base foot solves minor wobble on hard flooring, and a concealed steel plate under a wood base adds hidden mass when the design calls for a lighter look.
Staging UV-Reactive Sculpture: Base Choices That Work With Blacklight
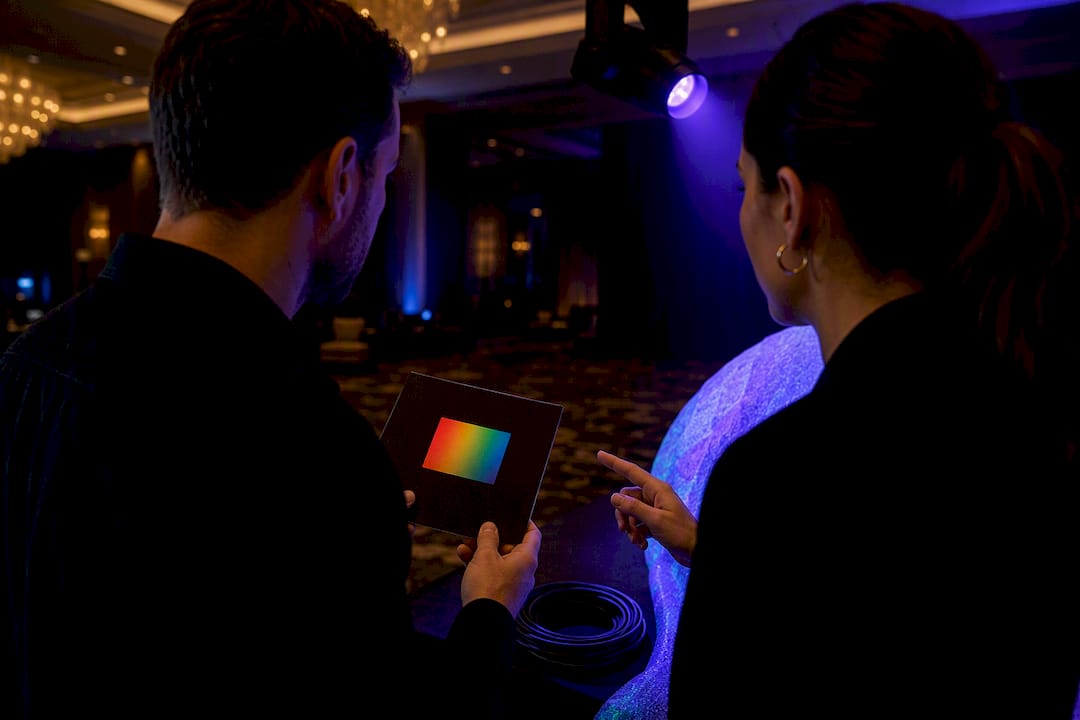
Base color and finish change how UV-reactive material actually reads under blacklight. A matte, dark plinth absorbs stray light and keeps the glow pattern crisp, while glossy or pale finishes bounce ambient light back and wash out the contrast the piece depends on. Low-profile bases work well for smaller glow pieces because they anchor the work without competing for attention once the room goes dark.
Practical staging matters as much as base choice: hide the blacklight fixture itself, angle it to avoid glare off the base’s surface, and keep the mounting hardware out of direct light path. Flymiami’s sculpture lighting guide covers fixture placement and CRI specifics for anyone staging glow work at home or in a gallery.
Pro Tip: Test your base finish under the actual blacklight before final mounting. A base that looks fine under normal light can glare or reflect in ways you won’t catch until the room goes dark.

When the Base Becomes Part of the Art
There’s a real trade-off between a base that quietly disappears and one that participates in the piece’s story. A pedestal with visible presence can extend a sculpture’s narrative, framing it the way a pedestal frames a classical bust, while a plinth’s whole job is to vanish so the work stands alone. Neither approach is wrong, but they answer different questions.
Context should drive the decision more than personal taste. A gallery show built around a curatorial theme might benefit from a base that echoes the room’s architecture, while a private collector placing a piece in a living room usually wants the base to recede so the sculpture holds the eye. Before committing to a final base, prototype it. Photograph the sculpture on a few candidate bases, in the actual lighting it’ll live under, and the right choice tends to become obvious fast.
— Facundo
Finished Sculptures and Presentation Guidance From Flymiami
If building or sourcing a custom base feels like more than you want to take on, Some studios offer original sculptures and UV-reactive works that arrive with presentation already considered, plus commission guidance for clients who want a piece built around a specific space or theme. That’s the practical advantage over assembling base, mount, and lighting separately yourself, one point of contact who understands how the finished piece needs to look, glow, and stand.

Some studios build each piece with staging in mind from the start, producing sculptures that shift character under blacklight or wall-mounted UV works for hotel lobbies or private collections. Browse the sculpture collection to see finished examples, or explore the UV glow art collection if blacklight-reactive work is what you’re after. For a custom piece built to a specific site or theme, reach out through the collection page to start a commission conversation.
Sources
FAQ
What’s the difference between a plinth and a pedestal?
A plinth is a plain, planar block designed to visually disappear beneath the sculpture, while a pedestal is more articulated, with a base, shaft, and cap, and it actively elevates and frames the work.
How high should a sculpture base be?
Set the base height so the sculpture’s focal point sits near average viewer eye level, adjusting for seated viewing areas or crowd settings where sightlines differ.
Is epoxy alone enough to mount a sculpture?
Epoxy alone works for small, low-leverage pieces with a wide, stable contact area, but most gallery-scale metal or bronze work needs two threaded-rod pins set in epoxy to resist rotation and tipping.
When do I need an engineer for an outdoor sculpture base?
Bring in a structural engineer for large-mass pieces, high-wind sites, or anything mounted to a rooftop or elevated slab, where a miscalculated footing creates a real safety risk.
Does base finish affect UV-reactive sculpture?
Yes, matte and dark base finishes absorb stray light and keep the glow pattern crisp, while glossy or pale finishes reflect ambient light and wash out the contrast that UV-reactive material depends on.