What Is Layered Visual Decor Concept? A Depth-Building Guide
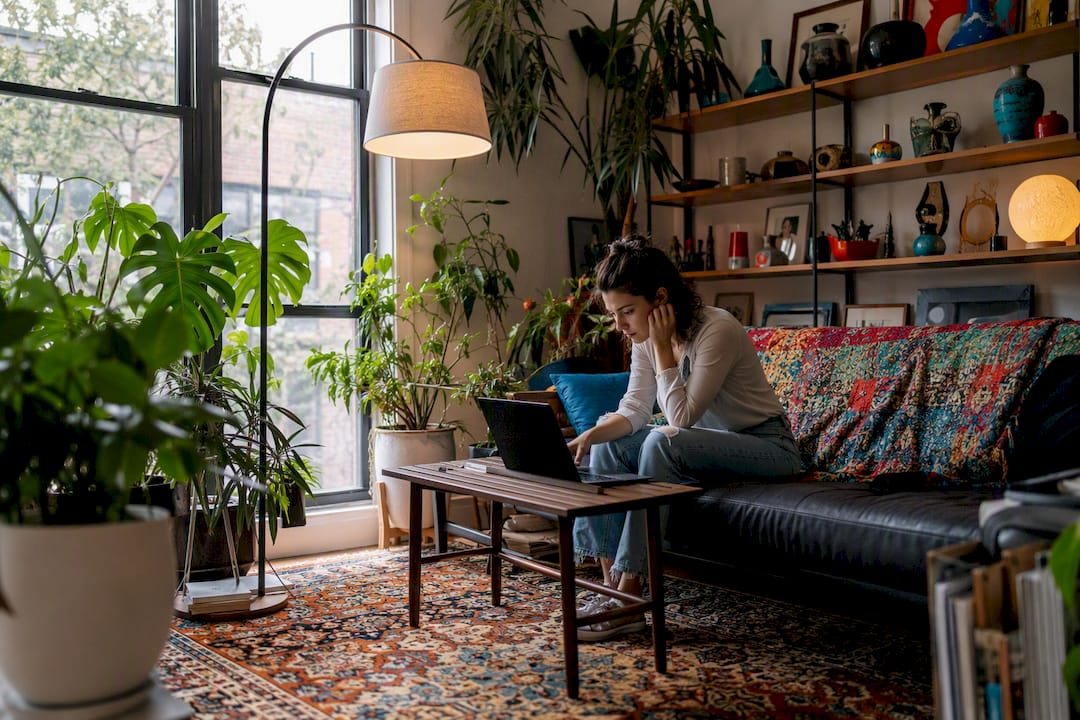
Layered visual decor is the deliberate mixing of texture, scale, materials, color, lighting, and time so a room reads as deep, warm, and collected instead of flat and showroom-perfect. It’s the difference between a space that looks bought in one afternoon and one that looks lived in for years. Layering, done well, gives you three things: depth (rooms feel dimensional, not one-note), warmth (surfaces invite touch instead of just sight), and cohesion (a “collected over time” feeling rather than a matched set). Design principles like the Rule of Three and the Sandwich Method give you repeatable structure, and even a single statement piece, the kind FLY Miami Art builds around UV-reactive finishes, can anchor an entire scheme.
Key Takeaways
Layered visual decor works because it stacks texture, scale, material contrast, color, lighting, and time deliberately, rather than adding items at random.
| Point | Details |
|---|---|
| Layer in order | Ground the room with floors and wall color, then furniture, rugs, lighting, and textiles last. |
| Use odd-numbered groupings | Apply the Rule of Three with one tall focal piece and two supporting pieces of different heights. |
| Frame with the Sandwich Method | Repeat one finish or color at the ceiling and baseboard to unify the mid-section of a room. |
| Style back-to-front | Place tall flat items behind, medium pieces in the middle, and small detailed objects up front for overlap. |
| Anchor with statement art | A sculpture or wall piece, like those from Flymiami, can serve as the backdrop layer a room builds around. |
Table of Contents
- What Are the Core Components of Layered Decor?
- How Do You Layer a Room Step by Step?
- What Designer Rules Make Layering Easier?
- What Do Layered Rooms Look Like in Practice?
- Why Do Some Rooms Still Feel Flat or Cluttered?
- Sources
What Are the Core Components of Layered Decor?
Layering rests on five working parts: texture, scale and height, material contrast, color, and time. Miss one, and a room tends to feel unfinished no matter how much furniture you add.
Texture works on two levels. Physical texture is what your hand feels: a boucle chair arm, a jute rug, a hammered metal bowl. Visual texture is what your eye reads as texture from across the room, like a grasscloth wallpaper or a nubby throw folded at the foot of a bed. A room using only one type, say, all smooth leather and glass, reads cold even with good furniture in it.
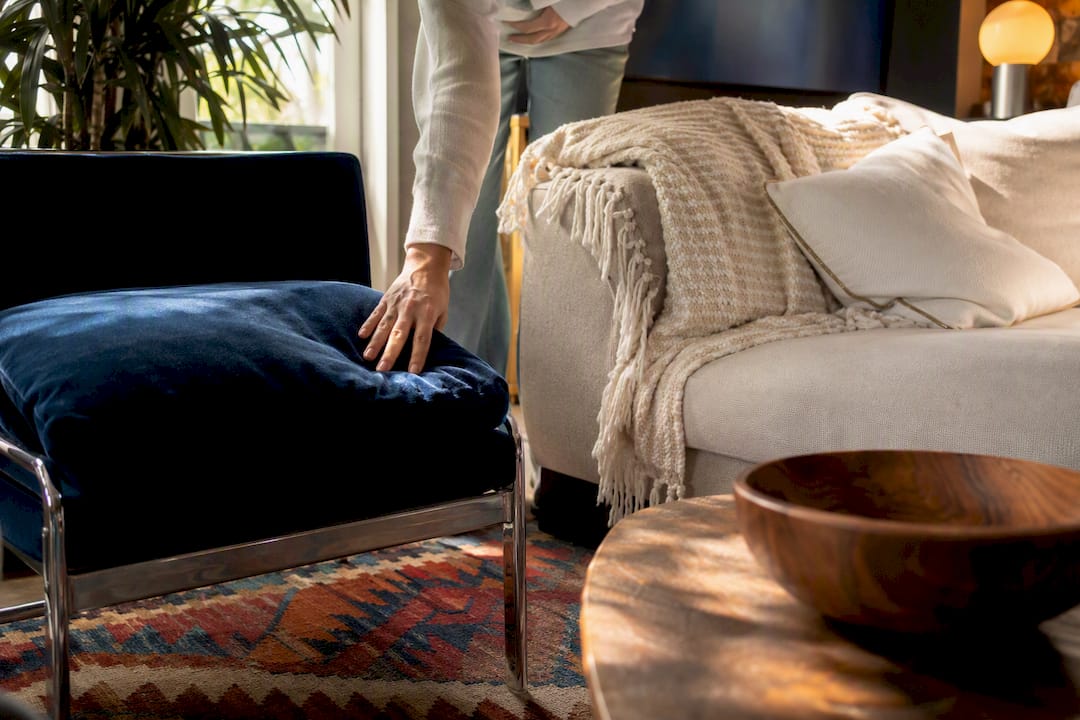
Scale and height prevent the “everything at eye level” trap. Grouping objects so one is tall, one is medium, and one is low creates a small triangle the eye can travel around, rather than a flat horizontal line.
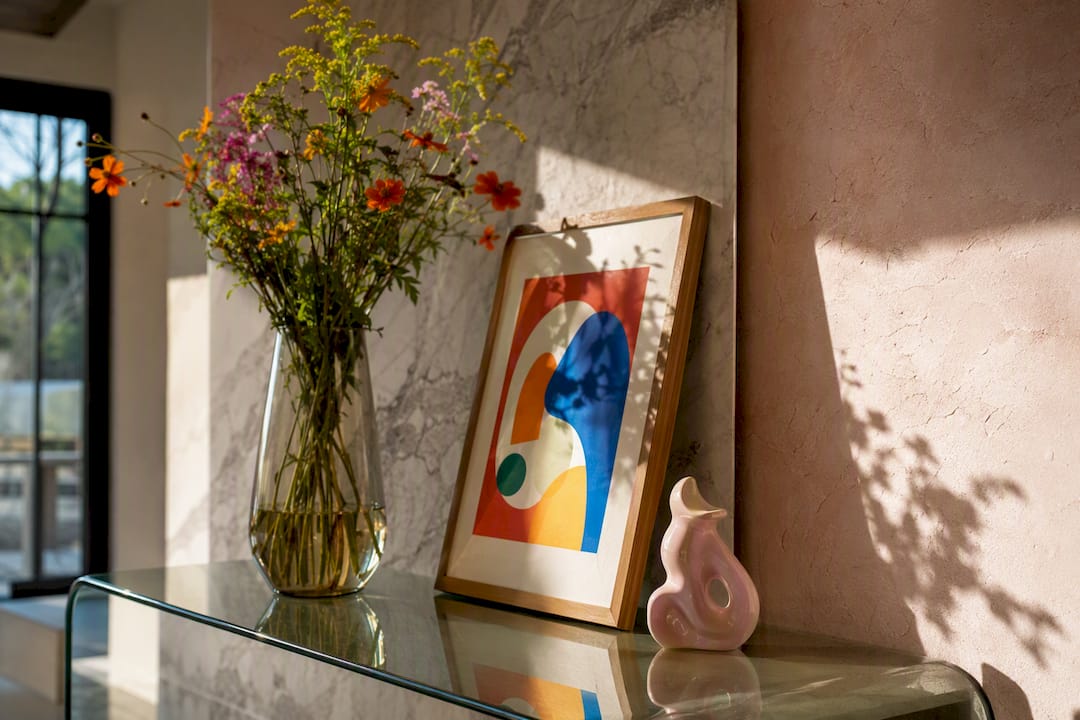
Material contrast means pairing warm against cool and hard against soft: a wood console under a chrome mirror, a wool throw over a leather sofa.
Color layering uses tonal buildup rather than one flat wall, and this is where the Sandwich Method earns its keep, repeating a color or finish at the ceiling and baseboard so the middle of the room feels framed and intentional.
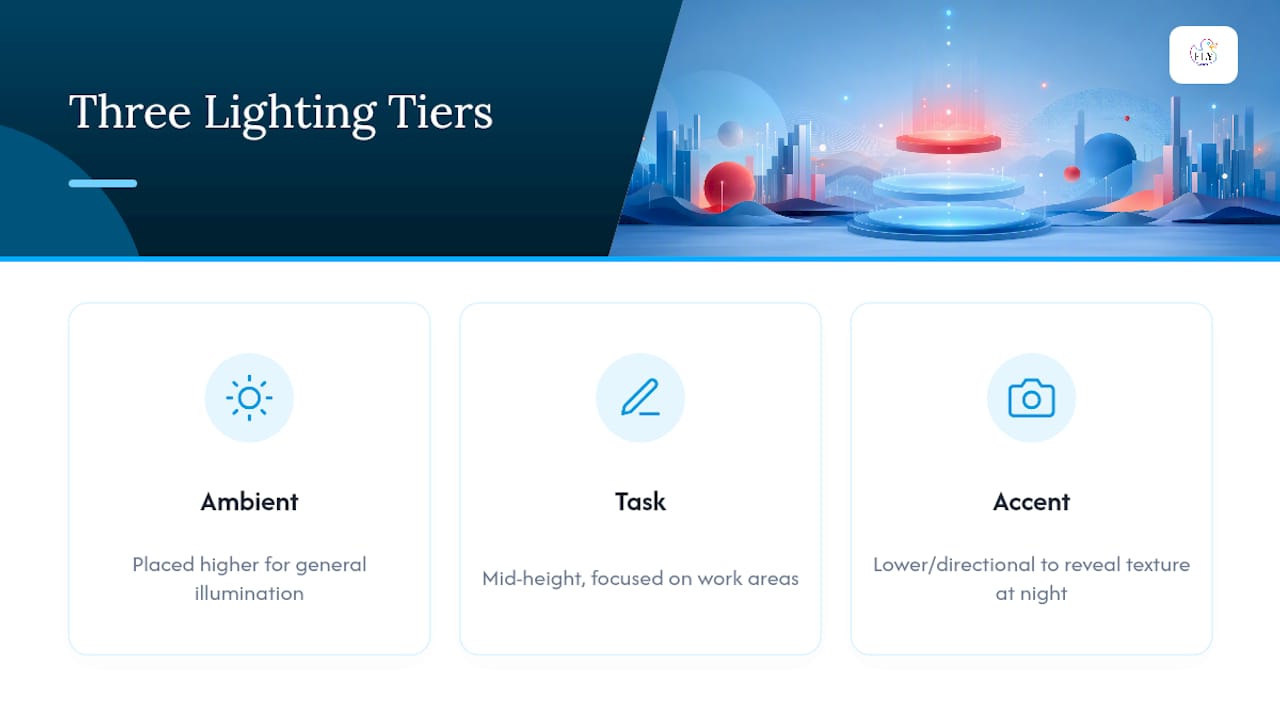
Lighting operates in three tiers, ambient, task, and accent, placed at different heights across a room to reveal texture at night the way daylight reveals it by default, according to Holley Price Interiors.
Pro Tip: Stand in a doorway and count how many heights are represented in your sightline. If everything sits between knee and shoulder level, you’re missing a layer.
Finally, there’s time. Homes & Gardens identifies accumulated pieces, objects gathered rather than bought as a set, as one of the five components that separate layered rooms from staged ones.
How Do You Layer a Room Step by Step?
Building layers works best in a fixed order, foundation first, detail last. Skip ahead to accessories before the bones are set, and you’ll spend money re-doing work you already did.
- Ground the room first. Settle floor finish and wall color before buying a single accessory. These are your quietest layers, and they set the temperature for everything stacked on top.
- Place primary furniture to define zones. Sofa, bed, dining table: these establish where activity happens and how traffic moves.
- Layer your rugs. Start with a large, textured, neutral rug as the foundation, then add a smaller patterned or plush rug on top to anchor a seating group, a technique Holley Price Interiors uses to introduce pattern without overwhelming the floor.
- Add lighting tiers. Bring in a floor lamp, table lamp, and one accent light, ideally at three different heights, before you touch throw pillows.
- Layer textiles. Throws, cushions, and window treatments go on now, styled back-to-front so tall pieces sit behind and small ones sit forward.
- Edit, then live with it. Walk away for a week. What looks sparse on day one often looks intentional by day seven, and what looks cluttered on day one almost always still looks cluttered later.
Pro Tip: Buy your rug and your main light source before your throw pillows. Reversing that order is the single most common reason a “finished” room still feels unresolved.
What Designer Rules Make Layering Easier?
A handful of compact rules do most of the heavy lifting once you know them, and they translate directly across styles.
- Rule of Three: group objects in odd numbers, ideally with one tall focal piece and two supporting pieces of different heights. Welsh Design Studio notes that even-numbered groupings tend to read static, while a trio creates movement the eye follows.
- Sandwich Method: repeat one finish or color at the top of the room (crown molding, ceiling paint) and the bottom (baseboard, floor), which frames whatever color choices sit in between.
- Back-to-front vignette styling: place a tall, flat item as the anchor at the back, a medium object in the middle, and a small detailed piece up front, so the pieces overlap and appear to be in conversation, per Designly Done.
- Lighting placement: stagger ambient, task, and accent sources at varying heights rather than clustering them at eye level.
Designers describe layering as what separates a room that feels “decorated” from one that feels “designed”: it’s about intentional contrast and accumulation, not simply adding more stuff.
What Do Layered Rooms Look Like in Practice?
Theory is easy. Here’s what layering actually looks like room by room.
- Living room: a jute foundation rug topped with a smaller patterned accent rug under the coffee table, a large wall piece or sculpture as the visual anchor, a mix of linen and velvet cushions on the sofa, and light staggered between a floor lamp, a table lamp, and a picture light on the art.
- Bedroom: base sheet, then a duvet in a contrasting texture, a folded throw across the foot, and two or three cushions of varying size, stacked back-to-front. A bedside vignette follows the same rule: tall lamp, medium stack of books, small object in front.
- Small rooms: a large mirror to bounce light and fake square footage, fewer small trinkets than you think you need, and one vertical anchor, like a tall art piece, to keep the eye from flattening the space. Artinlifestyle covers several multifunctional pieces built specifically for this constraint.
- Mantels and shelves: low candlesticks, a mid-height stack of books or a bowl, and one tall piece leaning or standing at the back, arranged in odd-numbered groupings so nothing reads as a matched pair.
Why Do Some Rooms Still Feel Flat or Cluttered?
Most layering failures trace back to one of four fixable problems.
- The room feels flat. Almost always a height and texture problem. Add one tall piece and one genuinely tactile object, wool, rattan, hammered metal, and the flatness usually resolves.
- The room feels cluttered. Remove one item entirely before adding anything new, and protect at least one stretch of negative space per surface. Photograph the room; clutter is far easier to spot in a photo than in person.
- Patterns clash. Pick one dominant scale of pattern and let smaller patterns support it through a shared color, rather than competing patterns of similar size fighting for attention.
- Lighting feels one-note. A single overhead fixture flattens every texture in the room. Add a lamp at seated eye level and one accent light aimed at a piece of art or a shelf.
Using Art and Sculpture as Layering Anchors
A large wall piece or sculpture functions as the backdrop layer everything else builds around, the tall element in a back-to-front vignette on a room-wide scale. Placement matters: hang or position it before styling the surfaces near it. FLY Miami Art’s UV-reactive pieces add a layer most decor can’t: under accent lighting, hidden colors and patterns emerge, giving the same piece two distinct looks depending on the lighting layer you switch on.

A Studio Note on Collecting Over Time
Layering rewards patience more than budget. In the studio, a room with a single sculpture often looks unfinished until a second, smaller piece is added months later, and suddenly the whole wall reads as intentional rather than sparse. That gap between “placed” and “collected” is where the best rooms live.
— Facundo
Anchor Your Layers With a Statement Piece
A room built entirely from throws and rugs still needs one thing to organize the eye, and that’s usually a piece of art or sculpture, not another cushion. Flymiami’s wall art and sculpture collections are built specifically to work as that anchor: bold enough to hold the back position in a vignette, but versatile enough to sit in a living room, bedroom, or entry.

If your layering plan already includes an accent lighting tier, the UV Glow Art collection turns that lighting layer into a second, hidden composition that only appears under blacklight, so the same wall does double duty depending on the hour. Facundo Yebne hand-builds each piece, and originals through the Statement Pieces collection or custom commissions give you an anchor no one else’s room will have. Browse the current collections or reach out about a commission to start building your room’s backdrop layer today.
Sources
- Layering in interior design | Homes & Gardens
- Interior design rule of three | Welsh Design Studio
- The sandwich method for decorating a room | Apartment Therapy
- How to style decorative objects without overdoing it | Designly Done
- Layering decor elements for depth and visual interest | Holley Price Interiors