How to Create Gallery Wall Mixed Media Art at Home
A mixed media gallery wall is defined as a curated wall arrangement that combines two or more distinct art materials, such as photography, painting, fabric, wood, and sculpture, into a single cohesive display. When done well, it transforms a blank wall into a personal statement that flat, single-medium art simply cannot match. The key to success is intentional layering: choosing pieces that contrast in texture and depth while sharing a unifying thread of color, mood, or subject. This guide walks you through every step, from selecting materials to driving the final nail, so your finished wall looks deliberate rather than accidental.
How to create gallery wall mixed media art: choosing your materials
The foundation of any strong mixed media wall decor display is material variety paired with visual restraint. Common materials include wood panels, metal prints, fabric art, oil or acrylic paintings, photography, and natural elements like pressed botanicals or woven textiles. Each brings a different surface quality, and that contrast is exactly what makes the wall interesting.
The single biggest mistake decorators make is treating material selection as a free-for-all. Mixing 2–3 tone color palettes unifies diverse mediums and prevents visual chaos. Pick your palette first, then source pieces that fit within it, regardless of their material.
- Wood and metal: These anchor a wall with weight and permanence. Use them for your largest or most prominent pieces.
- Fabric and textile: Macramé, woven wall hangings, or framed embroidery add softness and dimension that painted surfaces cannot replicate.
- Photography and print: These provide narrative clarity. Black-and-white photography works especially well as a neutral bridge between bolder pieces.
- 3D objects and sculpture: Shadowbox frames protect tactile, fragile items while adding real depth to the wall plane.
- Paper and collage: Lightweight and versatile, these work best in smaller accent positions rather than as anchor pieces.
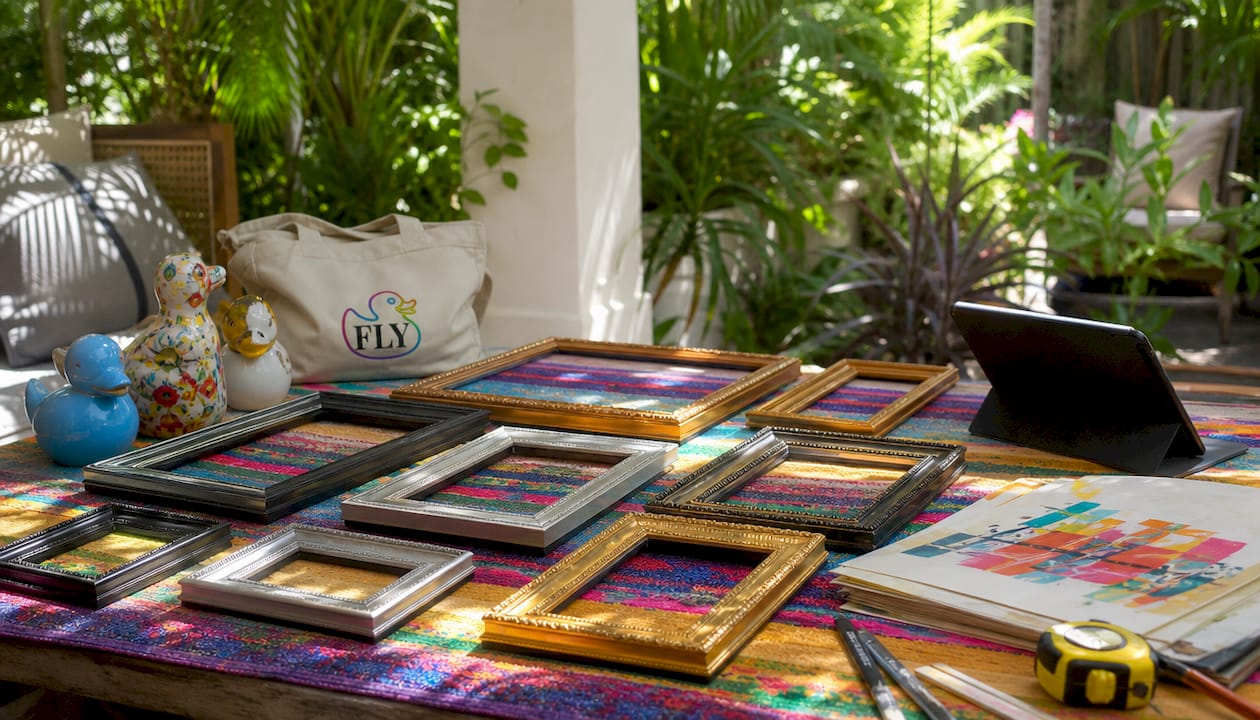
Framing choices matter as much as the art itself. Avoid mixing more than two metallic finishes to prevent visual noise. Stick to one primary finish, such as matte black or brushed gold, and use a second sparingly as an accent. Shadowbox frames are the right choice for any piece with raised texture or fragile elements, since they protect the surface and add a layer of physical depth.
Pro Tip: Before buying frames, lay your art pieces on the floor and photograph them from above. This gives you a bird’s-eye view of how the colors and textures interact before you commit to any framing decisions.
How do you plan the layout for a mixed media gallery wall?
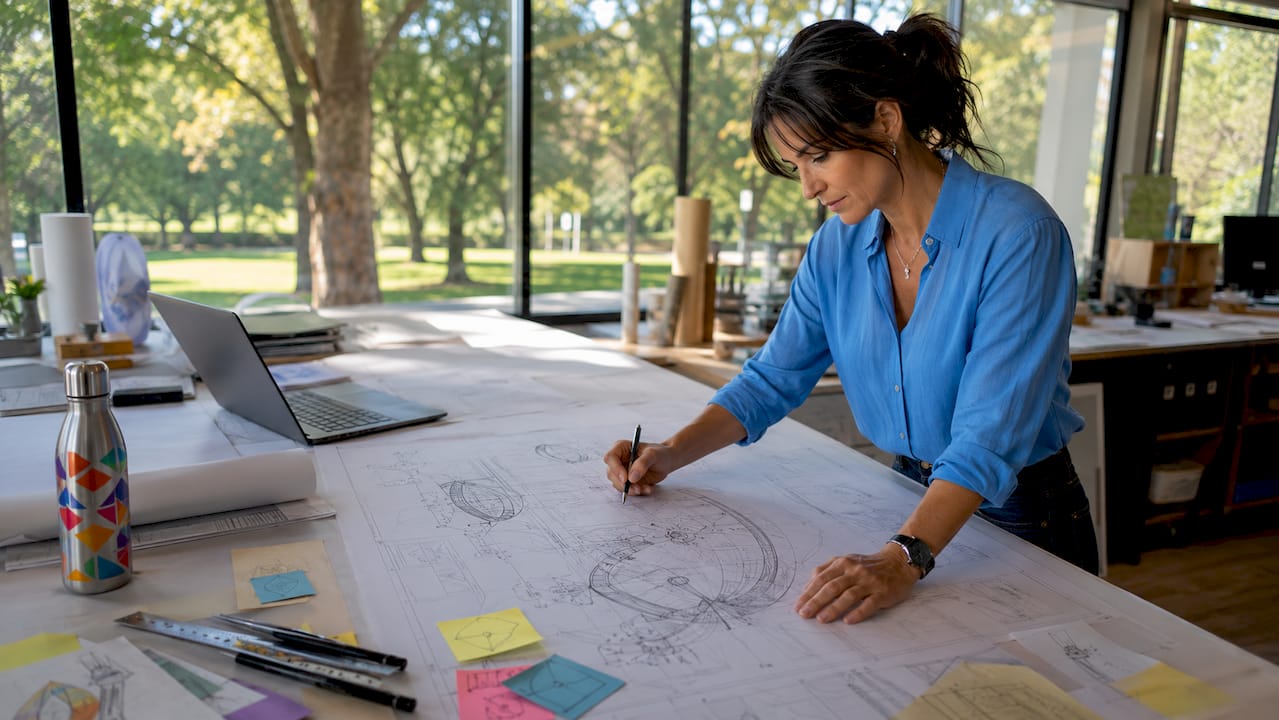
Layout planning is where most DIY gallery walls succeed or fail. The goal is a composition that feels balanced and intentional, not like a collection of random objects that happened to end up on the same wall.
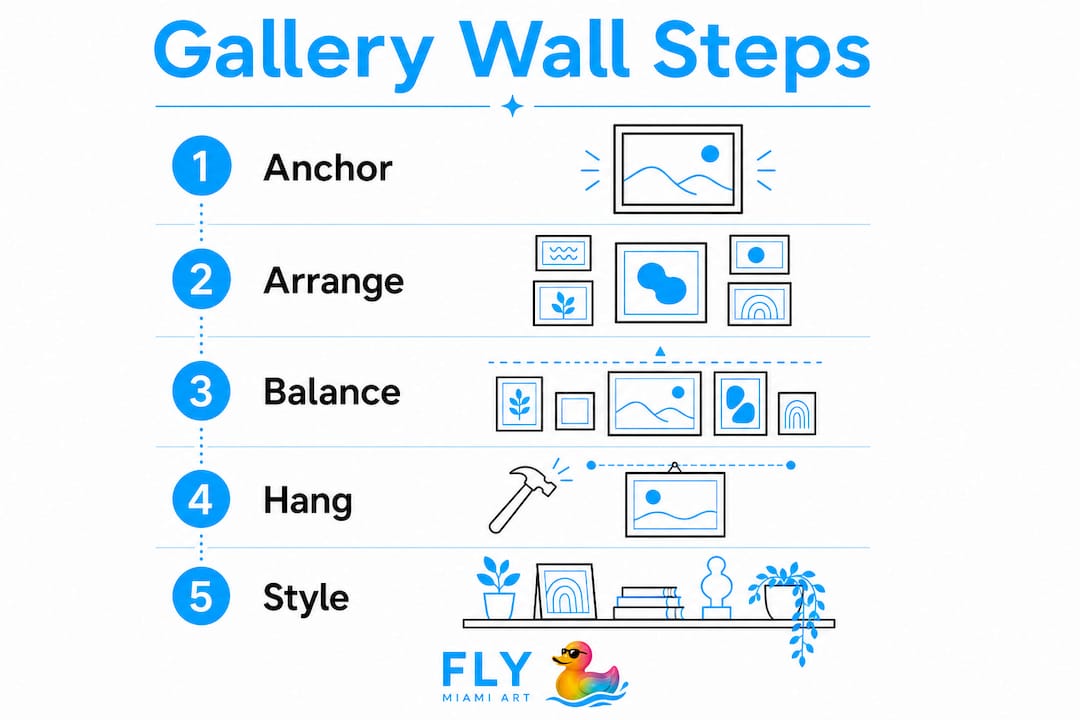
Start by identifying your anchor piece. Gallery walls built around one or two anchor pieces with emotional meaning feel personal rather than decorative. Your anchor is typically the largest, most visually striking item. Everything else radiates outward from it.
Place your anchor at gallery eye level, 57–60 inches from the floor to the center of the piece. This is the standard used in professional galleries worldwide. Artwork hung above furniture should sit 6–10 inches above the top of the piece to maintain visual connection with the room.
Follow these steps to build your layout:
- Measure your wall space. Note the width of any furniture below the wall. Your gallery arrangement should span approximately two-thirds of that furniture’s width for proper visual balance.
- Cut kraft paper templates. Trace each frame or object onto kraft paper and cut it out. Label each template with the piece’s name and hardware location.
- Arrange templates on the floor. Lay them out in different configurations until you find one that feels right. Photograph each arrangement as a reference.
- Tape templates to the wall. Use painter’s tape to hold them in place. Step back and evaluate the composition from across the room.
- Check spacing. Consistent spacing of 2–3 inches between frames creates a cohesive collection. Spacing over 4 inches makes pieces look unrelated; under 1.5 inches looks cramped.
- Adjust before nailing. Move templates freely until the arrangement feels balanced. This is the stage to experiment, not after the nails are in.
Mixing frame depths adds real dimension to the wall. Pair a deep shadowbox with a thin profile frame to create a layered, sculptural effect. For walls that include 3D items like ceramic pieces or woven hangings, position those objects first since they have the most physical presence and will influence how the flat pieces around them need to be arranged.
Pro Tip: Use a single unifying element across all pieces, whether that is a consistent frame color, a recurring subject, or a shared mood. One or two consistent design elements are what separate an eclectic gallery wall from a cluttered one.
For spaces where art intersects with entertainment and social gathering, the principles of curating an immersive art show apply directly to home gallery setup. Spacing, sightlines, and anchor placement all follow the same logic whether you are hanging work in a living room or a venue.
What is the step-by-step process for hanging a mixed media gallery wall?
Installation is where careful planning pays off. Gather your tools before you start: a hammer, picture hooks rated for your pieces’ weights, a level, a measuring tape, painter’s tape, a pencil, and scrap cardboard cut into 2-inch and 3-inch strips for use as spacers.
Follow this sequence for a clean, professional result:
- Transfer your template positions to the wall. With templates still taped up, mark nail positions through the paper directly onto the wall surface.
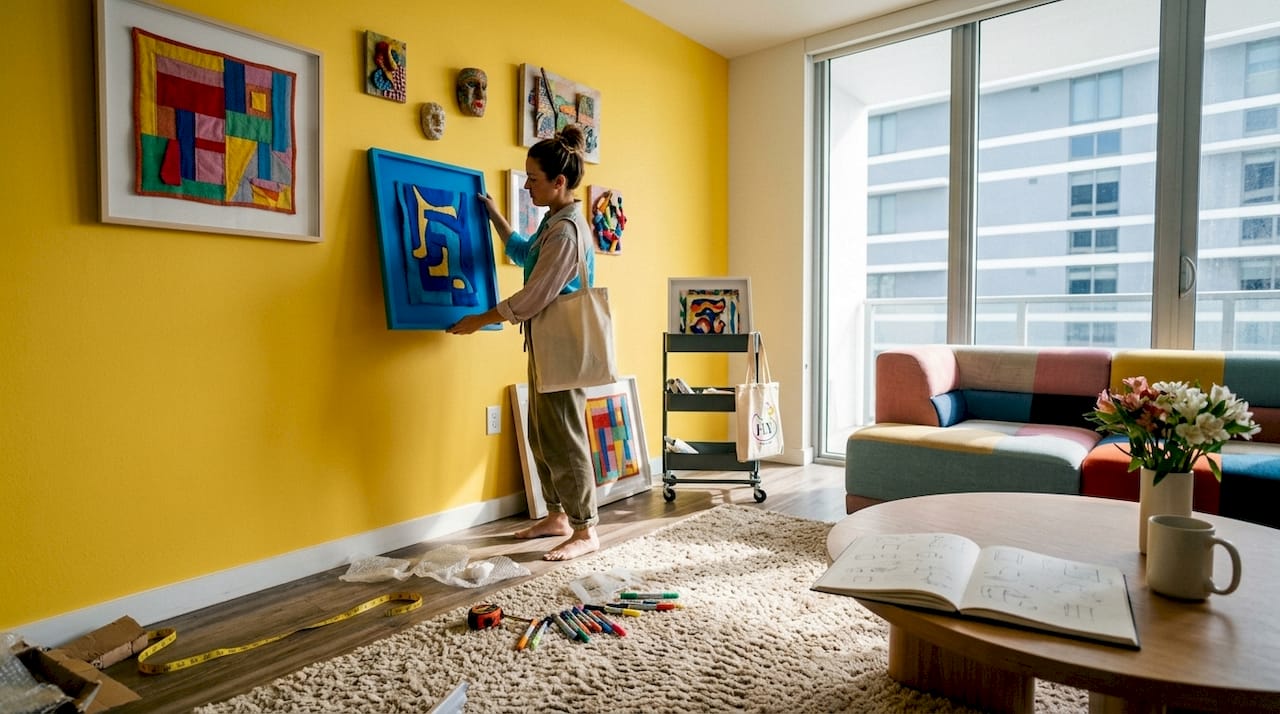
- Remove templates and drive your first hook. Start with the anchor piece. Getting this one right determines the alignment of everything that follows.
- Hang the anchor piece and level it. Use a level on the frame itself, not just on the wall, for accuracy. A frame can sit crooked even on a perfectly level hook.
- Work outward from the anchor. Hang the next largest pieces first, then fill in with smaller items. This prevents alignment drift, which happens when you start with small pieces and try to fit large ones around them.
- Use cardboard spacers. Cut scrap cardboard to your target spacing width and hold it between frames as you position each new piece. This is faster and more consistent than measuring every gap with a tape measure.
- Check the full arrangement from a distance. Step back at least 8 feet after hanging every third piece. Small alignment issues are invisible up close but obvious from across the room.
- Adjust and finalize. Rehang any piece that looks off. Most hooks allow minor left-right adjustment without a new nail hole.
Common mistakes to avoid include hanging pieces too high (the 57–60 inch center rule exists for a reason), skipping the level check, and using hooks rated for less weight than the piece requires. For 3D or heavy mixed media objects, use wall anchors rather than standard picture hooks.
Pro Tip: Photograph your floor layout before you start hanging. When you are on a ladder with a hammer in hand, that photo is far more useful than trying to remember where each piece was supposed to go.
For guidance on displaying particularly large or sculptural pieces within a gallery arrangement, the principles behind large-scale art installations offer useful context on weight distribution and wall anchoring.
How do you maintain and style a mixed media gallery wall?
A well-installed gallery wall requires ongoing attention to stay looking its best. The materials that make mixed media displays so visually rich, fabric, paper, natural elements, and painted surfaces, each respond differently to light, humidity, and dust.
- Dust regularly with a soft, dry brush. Microfiber cloths work for glass and metal surfaces. Use a soft-bristle brush for fabric, textured paper, and sculptural elements to avoid snagging or tearing.
- Keep the wall away from direct sunlight. UV exposure fades photography, paper, and painted surfaces faster than almost any other environmental factor. Mixed media wall art requires avoidance of direct sunlight to preserve material integrity over time.
- Control humidity. Avoid hanging mixed media displays in bathrooms or near exterior walls in humid climates. Moisture warps wood, causes paper to buckle, and degrades adhesives.
- Repair loose elements promptly. Use archival adhesives to reattach any lifted paper, fabric, or collage elements. Non-archival glues yellow and degrade over time, damaging the piece further.
- Rotate pieces seasonally. Swapping out one or two pieces every few months keeps the wall feeling current without requiring a full reinstall. Store rotated pieces flat and away from light.
Styling the space around the gallery wall matters as much as the wall itself. A directional picture light or a pair of sconces mounted at the wall’s edges draw attention to the display and add warmth after dark. Plants positioned below or beside the wall soften the transition between the art and the room. Furniture alignment, specifically centering a sofa or console table beneath the gallery, grounds the display and signals that the arrangement was intentional.
Pro Tip: When you rotate pieces, use the opportunity to reassess the full composition. Sometimes removing one item improves the entire wall more than adding something new.
For ideas on refreshing your display over time, the guide on rotating pop art displays covers practical strategies for keeping a home gallery feeling alive.
Key Takeaways
A mixed media gallery wall succeeds when material variety, consistent spacing, and a strong anchor piece work together to create a display that feels personal and visually unified.
| Point | Details |
|---|---|
| Anchor piece first | Choose one emotionally meaningful piece and build the entire layout outward from it. |
| Limit color and finish | Stick to a 2–3 tone palette and no more than two metallic frame finishes to avoid visual noise. |
| Use the 57–60 inch rule | Hang the center of your anchor piece at gallery eye level for professional results. |
| Space frames 2–3 inches apart | Consistent gaps create cohesion; wider gaps make pieces look unrelated. |
| Maintain with care | Dust gently, block direct sunlight, and use archival adhesives to preserve mixed materials. |
What I have learned from building mixed media gallery walls
The most common mistake I see is treating a gallery wall like a math problem. People measure everything perfectly, follow every rule, and still end up with a wall that feels sterile. The rules matter, but they are a floor, not a ceiling.
The walls I am most proud of started with a single piece that meant something. Not the largest piece, not the most expensive one, but the one with a story. Everything else was chosen to support that story, not compete with it. Layering materials creates depth that flat art cannot, but only when the layers are chosen with intention rather than assembled at random.
I have also learned to embrace the imperfect hang. A frame that sits two degrees off level in a wall full of varied textures and depths reads as human, not sloppy. Perfectionism in mixed media display often works against you because the medium itself is inherently irregular. The woven textile will never hang as crisply as the framed print. That contrast is the point.
The walls that get the most attention are never the ones with the most pieces. They are the ones where every piece earns its place. If you cannot explain why something is on the wall, it probably should not be there. Edit ruthlessly before you hang anything.
— Facundo
Flymiami’s wall art for your gallery display
Building a gallery wall is only as good as the pieces you put on it. Flymiami creates handcrafted pop art sculptures and mixed media wall art that bring a dimension most gallery walls never achieve: UV-reactive surfaces that reveal hidden patterns and colors under blacklight, transforming your display from a daytime arrangement into a fully immersive experience after dark.
Artist Facundo Yebne’s statement pieces are designed to function as anchor works, the kind of emotionally resonant, visually striking pieces that give a gallery wall its narrative center. Each piece is handcrafted and one-of-a-kind, so your wall will never look like anyone else’s. Browse the full collection at flymiami.art to find the piece that starts your story.
FAQ
What is a mixed media gallery wall?
A mixed media gallery wall combines two or more distinct art materials, such as photography, painting, fabric, and sculpture, into a single curated wall display. The combination of textures and materials creates visual depth that single-medium arrangements cannot achieve.
How high should I hang gallery wall art?
Hang the center of your anchor piece at 57–60 inches from the floor, which is the standard gallery eye level. Art above furniture should sit 6–10 inches above the top of the piece.
How much space should I leave between frames?
Leave 2–3 inches between frames for a cohesive look. Gaps over 4 inches make pieces look unrelated, while gaps under 1.5 inches make the arrangement feel cramped.
How do I keep a mixed media gallery wall from looking cluttered?
Choose one or two unifying elements, such as a consistent frame finish, a shared color palette, or a recurring subject, and apply them across all pieces. Intentional eclecticism requires a unifying thread; without one, the wall reads as random.
Can I include 3D objects in a gallery wall?
Yes. Use shadowbox frames to protect and display tactile or fragile 3D items. Position 3D objects first when planning your layout, since their physical depth influences how flat pieces need to be arranged around them.